This guide explains the organization Users section in Namirial Notify. Use it to review user accounts, search the user list, understand user status, and access the user-administration actions exposed from the list.
- you are signed in with site administrator permissions
- you can access the organization settings area
- Sign in to Namirial Notify with a site administrator account.
- Open Organization from the settings icon in the top-right toolbar.
- Select Users in the left sidebar.
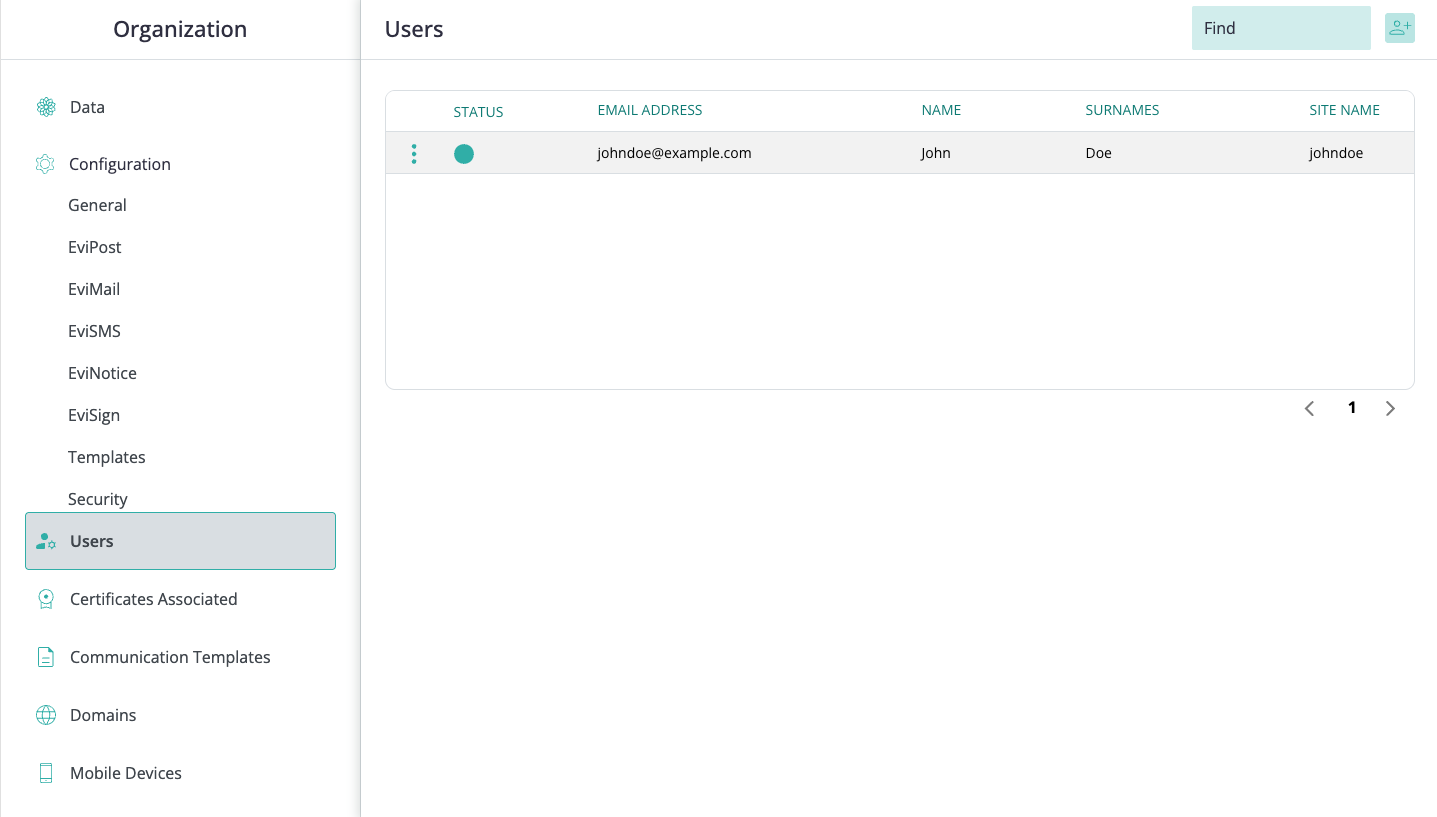
The current list view includes a search field, an add-user action, row actions, pagination, and columns for:
- status
- email address
- name
- surnames
- site name
From the users area, administrators can usually:
- search for an existing user
- open row actions for a user
- create a new user
- review the user's status
- block or reactivate a user
- open the user details or profile area
For adding a new user, see User registration. For role assignment, see Roles and permissions. For profile-specific defaults, see User profile settings.
Legacy and current environments can show a user in statuses such as:
- New - the user was created, but the account is not yet fully operational. This state is typically associated with initial activation or validation.
- Active - the user is operational and can sign in with the permissions assigned to the account.
- LockedOut - the user has been blocked by a site administrator and cannot use the account until reactivated.
Additional statuses can also appear depending on the account lifecycle, such as Activating, Pending, Approved, PasswordChangeRequired, and Deleting.
The exact status labels or icons can vary by tenant, but the Status column is the main place to review whether the account is ready for use.
To block or reactivate a user:
- Open Organization > Users.
- Locate the user in the list.
- Open the row action or use the status control shown in the Status column.
- Select the action to deactivate, lock, or reactivate the user.
- Confirm the change if the UI asks for confirmation.
- Verify that the status shown in the list has been updated.
Blocking and reactivating are typically applied immediately.
Before changing a user account, confirm:
- you are working in the correct organization
- the email address identifies the intended user
- the user needs site-level access rather than only recipient access to a transaction
- the intended roles match the user's operational responsibilities
- service accounts are used only for integration or automation scenarios
- changing the status will not interrupt an active operational need for that user
You can locate users in the organization, review their status and identifying details, block or reactivate accounts when needed, and open the focused workflow for registration, roles, password management, activity review, or profile settings.