This guide explains how issuers manage reusable contacts in Namirial Notify. Use contacts to speed up recipient selection when creating certified communications and batch submissions.
Menu labels can vary slightly by tenant and UI version. Contacts can be exposed from My Data → Contacts or from the profile area under Contacts.
- You are signed in as an issuer.
- You have the contact data you want to register.
- For CSV import, you have a CSV file ready for upload.
- Sign in to Namirial Notify.
- Open
My Data → Contacts. - Review the current contact list.
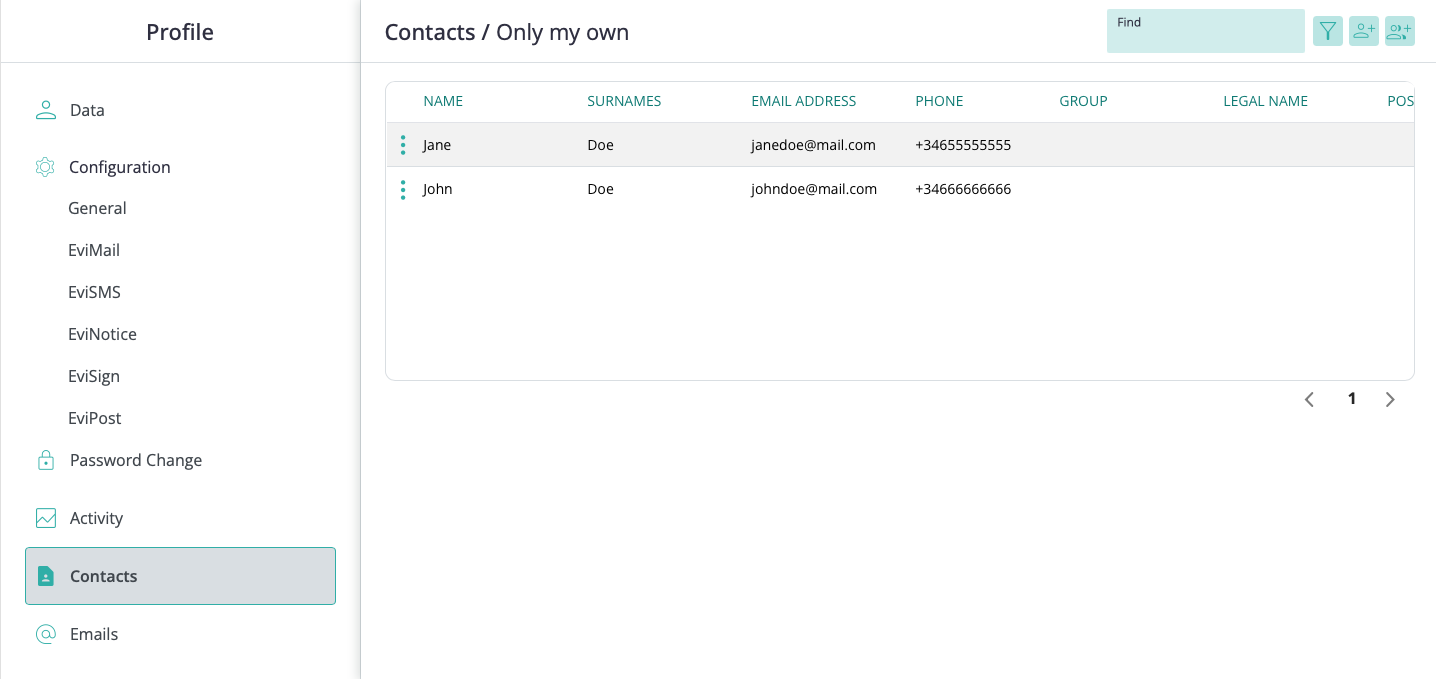
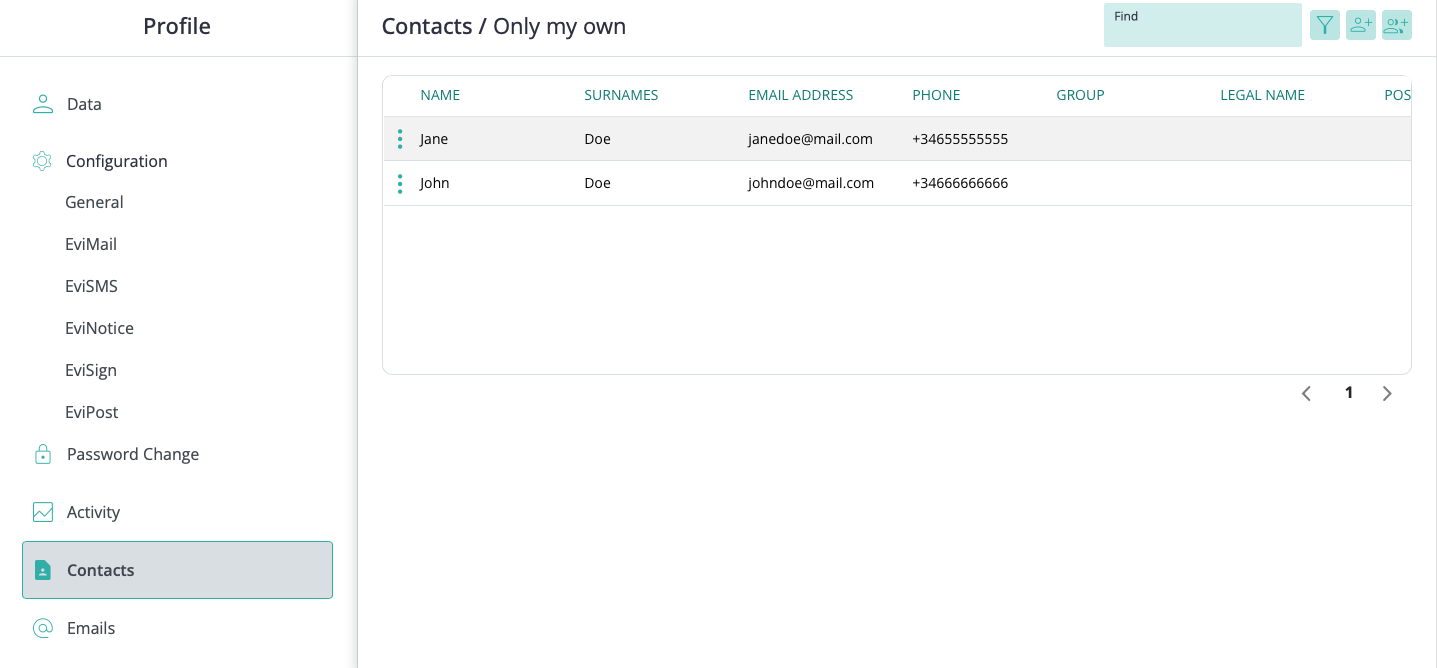
In the profile UI, the contact list can include columns for Name, Surnames, Email address, Phone, Group, Legal name, and Position. The top-right actions include search, filtering, creating a contact, and importing contacts.
- Open
My Data → Contacts. - Start a new contact record.
- Enter the required contact
NameandSurnameorSurnames, depending on the UI label. - Enter at least one contact value in
Telephone,Phone,Email, orContact email. - Complete optional fields such as legal name, position, group, and notes when needed.
- Set
Privateif only the current user should be able to see the contact. - Leave
Privatecleared if the contact should be visible to the organization. - Save the contact.
The import flow has three stages: Upload, Preview, and Result.
- Open
My Data → Contacts. - Start the CSV import action.
- Select Download sample in the upload area to get a reference CSV file with the expected column headers.
- Prepare a CSV file with at least the required headers
NameandSurName. - Make sure each contact includes at least one usable email address or telephone number.
- Make sure the file stays within the contact-import limit configured for your environment.
- Upload the CSV file or drag it into the upload area.
- Review the preview and confirm the contact data.
- Confirm the import.
- Review the result page to check the imported records.
The sample template can include columns such as Name, SurName, Email, Phone, LegalName, Group, and Notes.
- Open
My Data → Contacts. - Select the filter action.
- Select
Only my ownto see contacts saved as private. - Select
Organizationto see contacts available to the full organization. - Enter a keyword in the search bar to locate a specific contact.
- Clear the search field when you want to return to the full list.
- Check the page title to confirm the active scope.
- Find the contact you want to update.
- Open the row actions menu.
- Select Edit.
- Update the relevant contact data.
- Click Update.
- Find the contact you want to remove.
- Open the row actions menu.
- Select Delete.
You can maintain a reusable contact list in Namirial Notify and use it later when preparing certified communications or batch submissions.
Problem: You expect to see a contact, but it does not appear in the list.
Cause: The current search text or visibility scope may be hiding the contact.
Solution:
- Clear the search field.
- Switch between
Only my ownandOrganization. - Check whether the contact was saved with
Privateenabled.
Problem: The platform does not complete the contact import.
Cause: The CSV file may exceed the configured import limit or may not include the required headers.
Solution:
- Confirm that the file stays within the configured contact-import limit.
- Confirm that the CSV includes at least the
NameandSurNameheaders. - Correct the file and repeat the import.