This guide explains what recipients typically see when they receive an EviNotice and how they access the hosted notice on Namirial Notify.
Exact labels, buttons, delivery channels, and access checks can vary slightly by issuer configuration, notification language, and tenant customization. This guide describes the standard recipient flow: notification, secure access, hosted content, and optional response.
EviNotice does not deliver the certified content directly inside the email or mobile message. Instead, it sends a notification with a secure link that opens the hosted notice on Namirial Notify.
You may receive the notification through:
- an email message
- an SMS, RCS, or WhatsApp message, depending on the configured delivery channel
- a reminder notification, if reminders were configured by the issuer
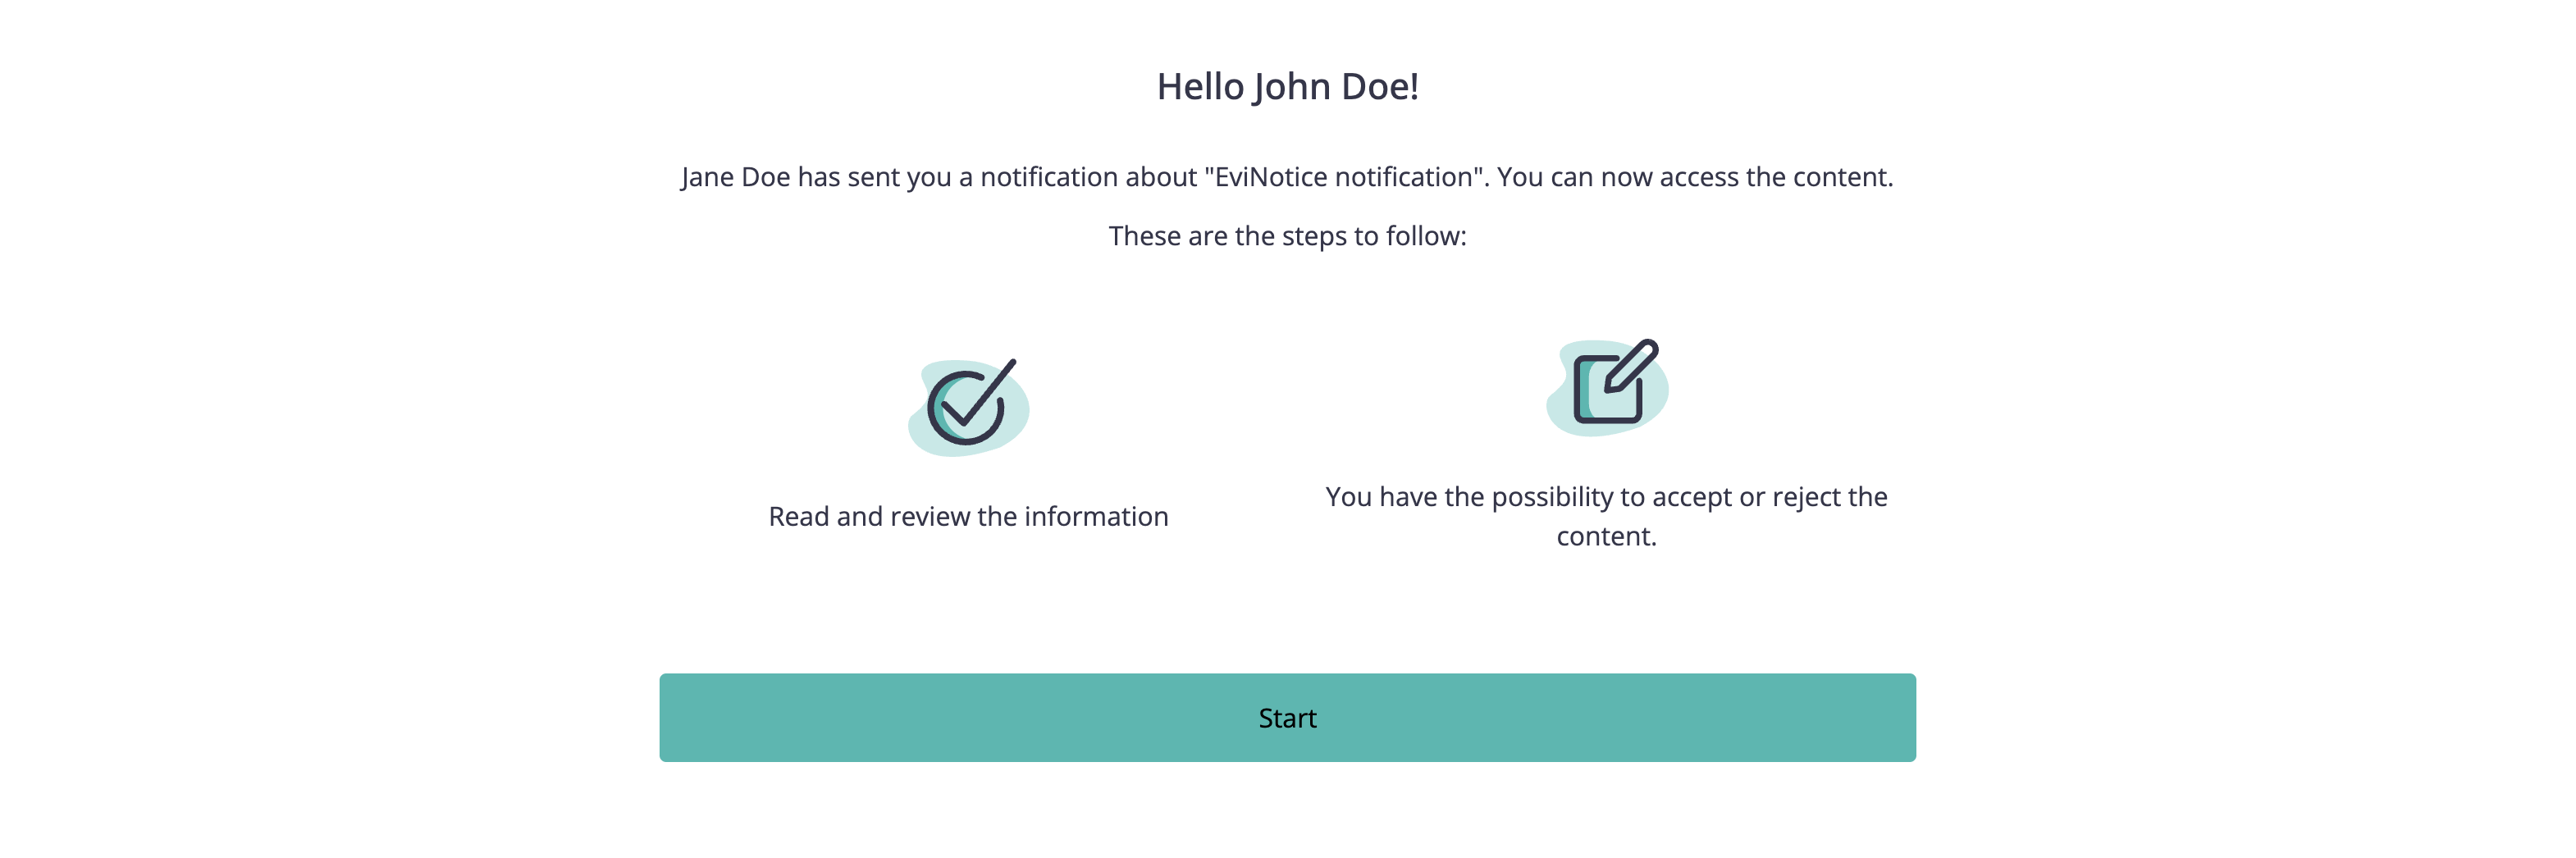
When you open the secure link, Namirial Notify shows the hosted notice and any configured attachments.
Before using this guide, make sure that:
- you have access to the email inbox or mobile device where the notification arrived
- you can open the secure link included in the notification
- if the issuer configured access checks, you have the needed information available, such as the answer to a challenge question or access to the email address or mobile number used for PIN delivery
- if the notice uses a QeRDS certification level, you have your legal identity document available, such as a national ID card or passport
- Open the email or mobile notification you received.
- Review the issuer name and subject so you confirm the notice is the one you expect.
- Select the secure link or action button that opens the hosted notice.
QeRDS-certified EviNotices require a verified recipient identity before you can access the content. When you open the secure link, Namirial Notify checks the identity required for the notice and asks you to provide or confirm document details when needed.
Identification is required for a QeRDS notice. Enrollment is needed only when a matching verified identity is unavailable. If your identity has already been validated in the current session, an additional identity page may not appear; continue with the steps shown for the notice. See QeRDS with EviNotice.
- The type of your legal identity document, for example a national ID card, passport, or residence permit.
- The number shown on that document.
The issuer may have specified the document type in advance, in which case it is pre-selected on the page. If the issuer also provided the document number, you confirm it. If neither was provided, you enter both.
When prompted, review and accept the QeRDS service terms and privacy conditions before continuing to the notice. A further prompt can be unnecessary when acceptance is already recorded for your identity, including from enrollment or an earlier qualified notice, or was collected during in-person identification.
These service conditions are separate from any accept/reject response the issuer requests for the notice content.
Namirial Notify checks whether a verified identity is already on record for your email address or mobile number. If a match is found:
- Review the document type shown on the identity page.
- Enter your document number to confirm it.
- Continue through the applicable notice-access checks before viewing the content.
If no verified identity is found for your contact details, what happens next depends on whether the issuer enabled in-notice registration.
When in-notice registration is enabled:
- Enter your document type and number when prompted.
- You are redirected to an external identity provider to complete registration.
- Follow the steps shown on the registration pages.
- When registration completes, you are returned to the notice automatically. If it succeeds in this same session and verifies the identity required for the notice, the content is shown immediately without an additional access check.
- If the enrollment attempt returns without a matching verified identity, an error page is shown and content access is blocked. Contact the issuer to resolve an incomplete or mismatched registration.
When in-notice registration is not enabled:
Namirial Notify shows an error page indicating that your identity could not be verified for this notice. Contact the issuer to resolve this before you can access the content.
If the document number you enter does not match what is on record or does not pass verification:
- Check that you selected the correct document type.
- Confirm that the number is entered exactly as it appears on the document, including any letters.
- Contact the issuer if you are unsure which document is expected or which value to use.
Depending on the configuration, Namirial Notify may ask for one or more checks before it shows the hosted notice.
Checks can include:
- the secure notice link
- a challenge question
- a PIN sent by mobile
- a PIN sent by email
- a captcha step
For a Spanish qualified notice, the PIN uses the notification channel. For an Italian qualified notice, it uses the other contact channel: an email notice can require a PIN sent to your mobile, and a mobile notice can require an email PIN.
- Read the instructions shown on the access page.
- Enter the requested value if a challenge question is shown.
- Request the PIN if the notice asks you to receive a code.
- Enter the PIN if a code was sent to you.
- Complete the captcha if the notice requires it.
- Continue to open the hosted notice.
If your notice uses a PIN, the code is time-limited. If you wait too long, you may need to request a new one.
In EviNotice, the hosted page is the certified content. The notification only provides access to it.
- Review the subject and message shown on the hosted notice page.
- Open any attachments if the issuer included them.
- Download the content or attachments if download options are available.
- Keep the notice open until you finish the action you need to take.
Some EviNotices are informational only. Others allow you to respond on the hosted notice page.
If the notice allows a response:
- Select Accept if you agree with the notice.
- Select Reject if you do not agree with the notice.
- Enter comments if the form allows or requires them.
- Select a reason if reason options are shown.
- Confirm your choice.
If the issuer enabled notification refusal, you may also see an option to decline the notice before opening the content. Use that option only if you do not want to read the hosted notice.
You access the hosted notice, read the content, review any attachments, and complete any response requested by the issuer. Depending on the notice configuration, Namirial Notify can record that you reached the hosted notice flow, opened the content, downloaded attachments, accepted or rejected the notice, or refused it without opening.
For EviNotice, Namirial Notify can record evidence for:
- notification sending
- notification delivery
- your access to the hosted notice flow
- your opening of the notice content
- your acceptance or rejection, when those options are enabled
- your refusal without opening, when that option is enabled
- your download of an individual attachment or a ZIP containing attachments, when attachment download tracking is enabled

For more detail on affidavit kinds and evidence interpretation, see Evidence and affidavits and States and outcomes.
Problem: The secure link does not open the notice.
Cause: The copied link may be incomplete, the original notification may no longer be valid, or the browser may be blocking the page.
Solution:
- Open the full link from the original notification instead of a partial copy.
- Try the link again from the original email or mobile message.
- Open the link in a supported browser on your device.
- Contact the issuer if the notice is no longer available or you need a new notification.
Problem: The notice asks for a PIN, but no code reaches you.
Cause: The PIN may have been sent to a different email address or mobile number, delivery may still be in progress, or the previous PIN may have expired.
Solution:
- Confirm that you are checking the same email inbox or mobile number used for the notice.
- Request a new PIN if the page allows it.
- Wait a moment and check again.
- Contact the issuer if you still cannot receive the code.
Problem: The notice asks a challenge question, but you do not know what to enter.
Cause: The expected answer was configured by the issuer and may require an exact value or format.
Solution:
- Read the challenge carefully and enter the expected answer.
- Check whether the answer must match an exact value or format.
- Contact the issuer if you do not know the answer or the expected data.
Problem: The identity verification page shows an error saying your identity is not registered and you cannot proceed.
Cause: The qualified notice requires a matching verified identity. No match is available and in-notice registration is disabled, or an enrollment attempt returned without the identity required for this notice.
Solution:
- Confirm that you opened the link from the notification sent to the email address or mobile number the issuer used for you.
- Contact the issuer. They need to verify your identity through their process before you can access this notice.
Problem: You need clarification about the content or requested action.
Cause: Namirial Notify delivers and records the notice, but the business content comes from the issuer.
Solution:
- Identify the issuer name shown in the notification or on the hosted notice.
- Contact the issuer directly for clarification or next steps.