This guide is a practical introduction to the Namirial Archive platform for everyday users. When long-term archiving is enabled through the Namirial Archive LTA plugin, this is the platform where your certified evidence is preserved and where you retrieve and manage it. The guide covers how to move around the interface, archive and find documents, organize them, act on them, and manage address books. For an introduction to what Namirial Archive is and how it connects to Namirial Notify, see What is Namirial Archive.
Namirial Archive is a separate platform with its own sign-in, distinct from the Namirial Notify portal. The screenshots in this guide show the platform's English interface. Some fields can retain localized labels, and exact labels and available options depend on the product version, selected language, your permissions, and the contracted modules.
After signing in you land on the main workspace. The top bar holds the global full-text search and your user menu; the left rail gives access to the main user functions; the central area shows activity management (reports and workflow).
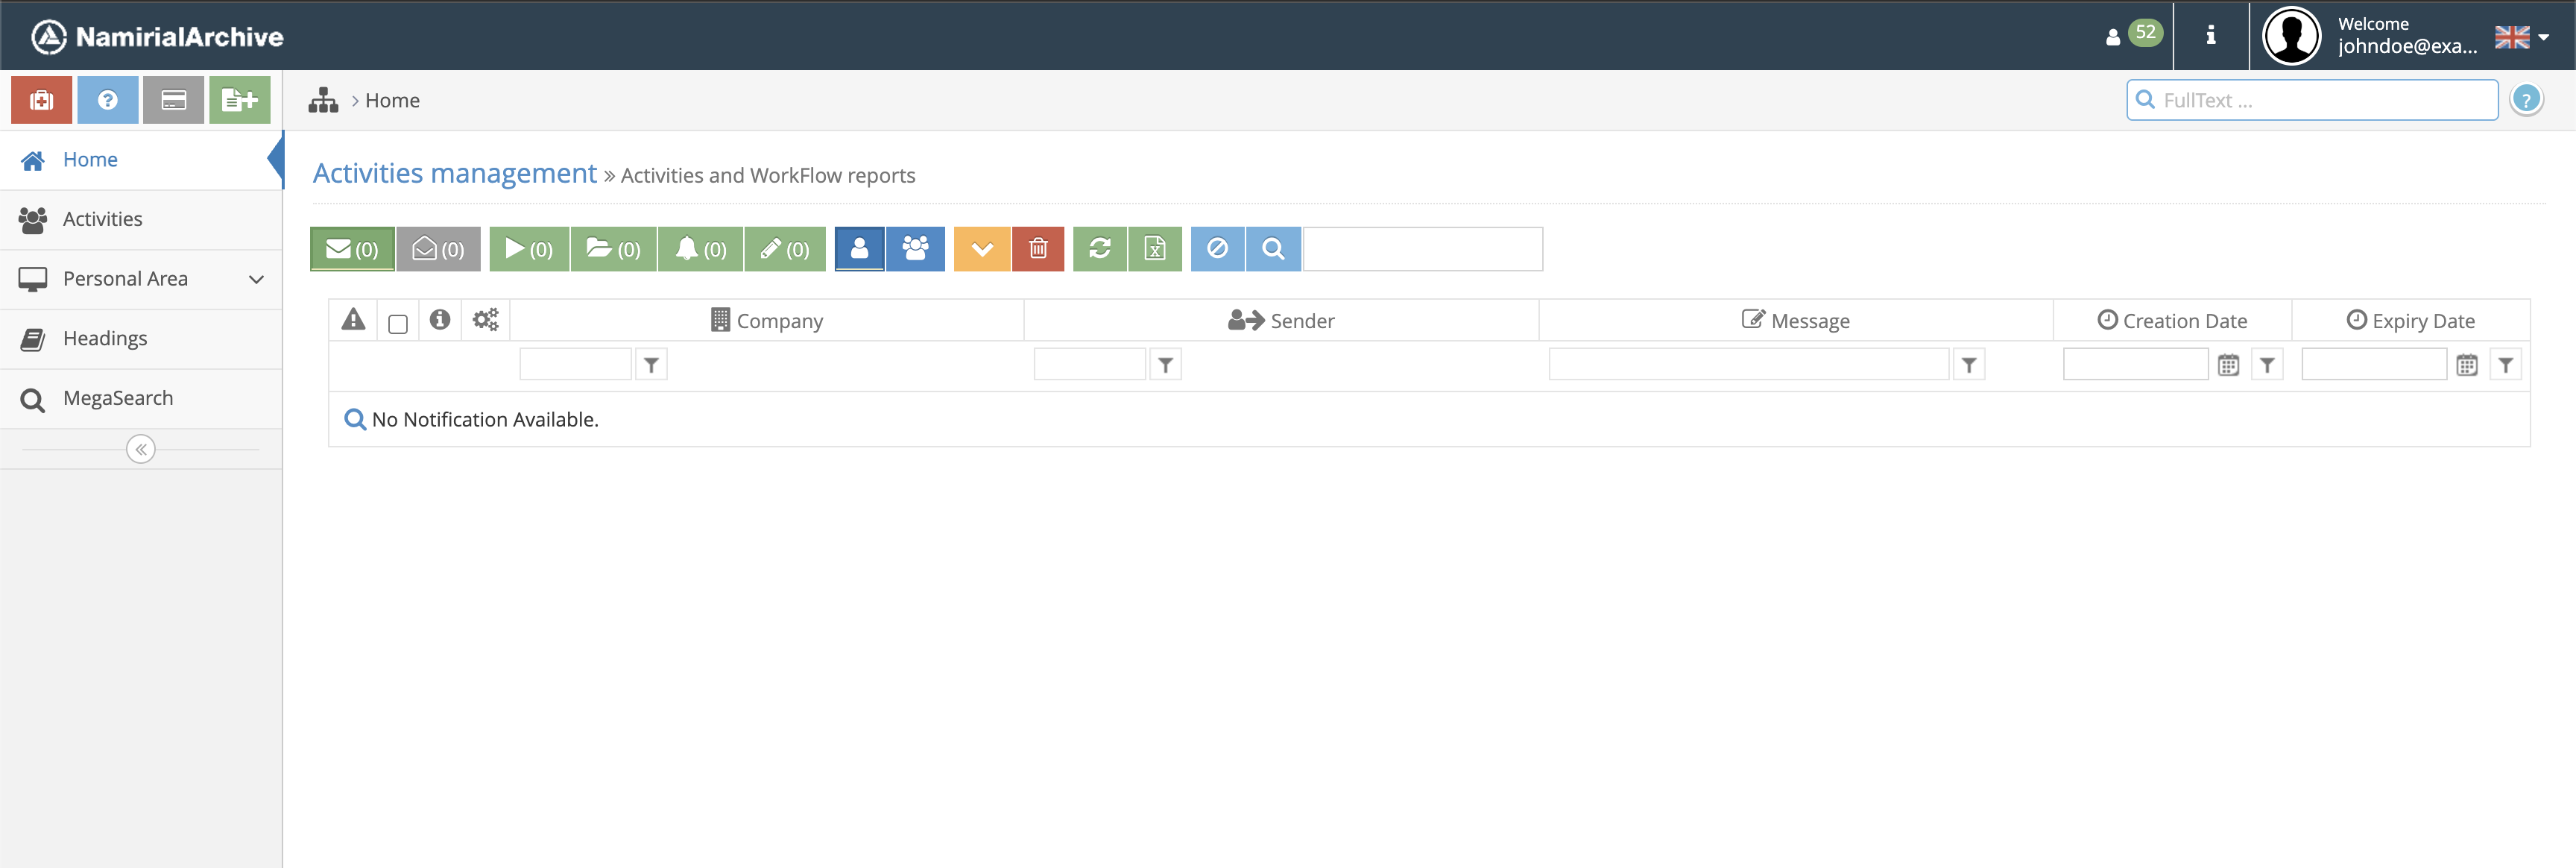
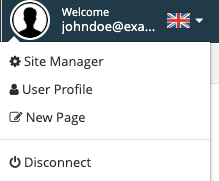
The two configuration entries in the user menu that are relevant to this guide are:
- Site Manager — the Namirial Archive administrative area, used to manage users, companies, the preservation service, accounts and contacts, workflow notification texts, documents, and the registry.
- User Profile — your own configuration: general data, authentication, security, remote signature, email signature, and logs. Set up your profile and preferences here first.
Four buttons sit at the top of the main page:
- Assistance request — opens a support page with FAQs and a virtual assistant.
- Guides and technical manuals — opens support content for technical manuals.
- License information — license details: dates, renewal, version, document page counts, support contact, and enabled modules.
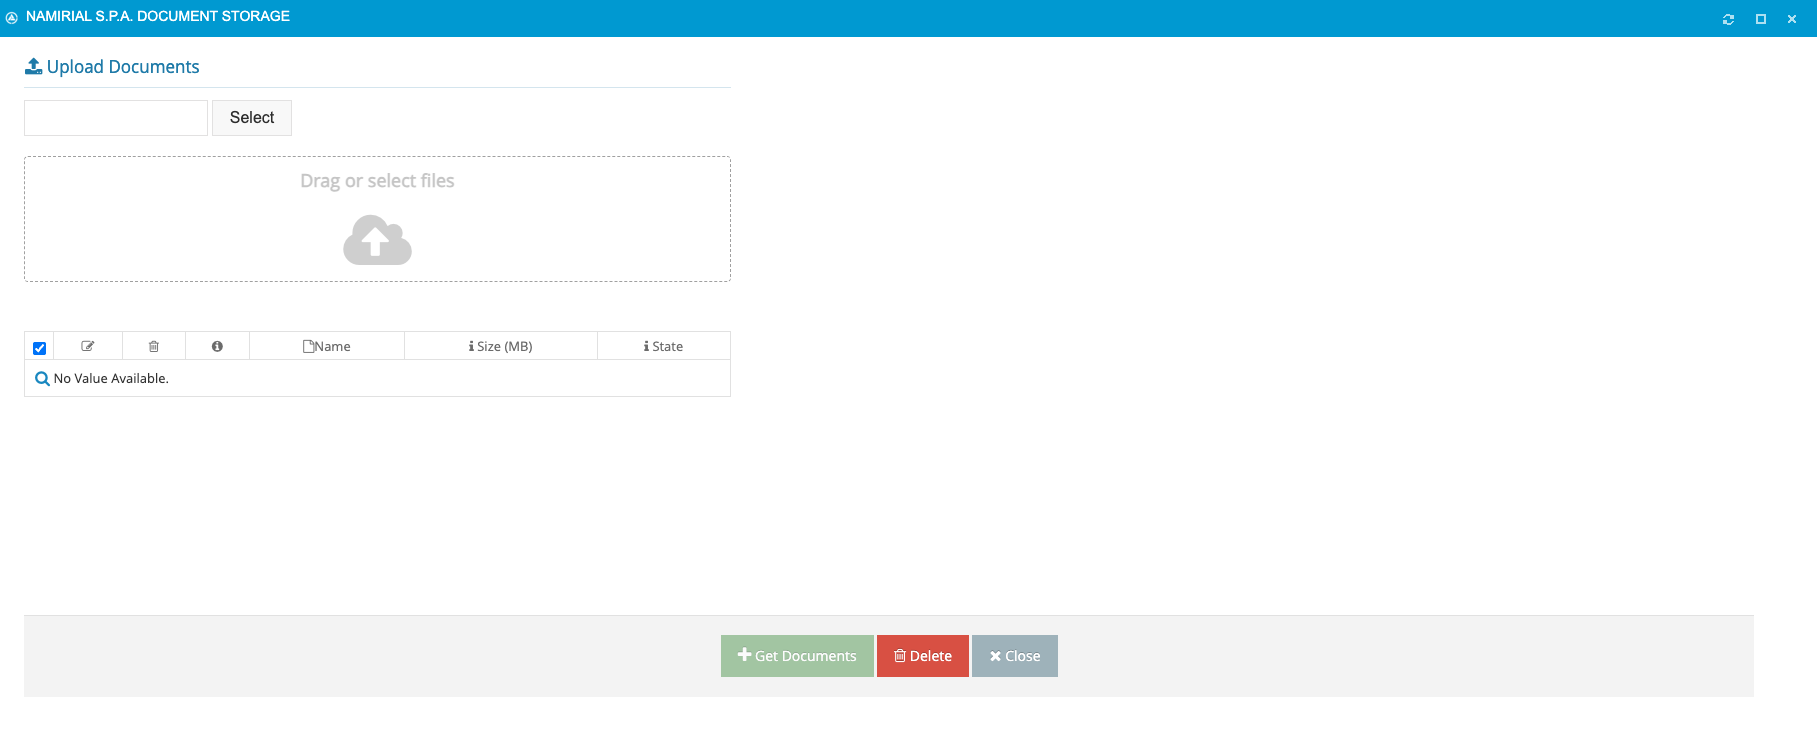
- Archive document — upload a document to the platform. All mandatory fields must be completed before uploading (covered under Archiving a document).

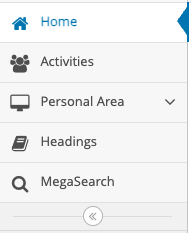
The left rail groups the main user functions:
- Home — returns to the activity-management dashboard for reports and workflow.
- Activities — opens the available activities and workflow items.
- Personal Area — includes eFlow (your templates, searchable and editable), eFlow – Template (create and review templates and their status), and eFlow – Settings (the account used for the ESAW integration).
- Headings — opens the address-book data used to manage accounts and contacts with quick, filterable search (see Managing address books).
- MegaSearch — the most-used section, where archived documents are organized and managed.
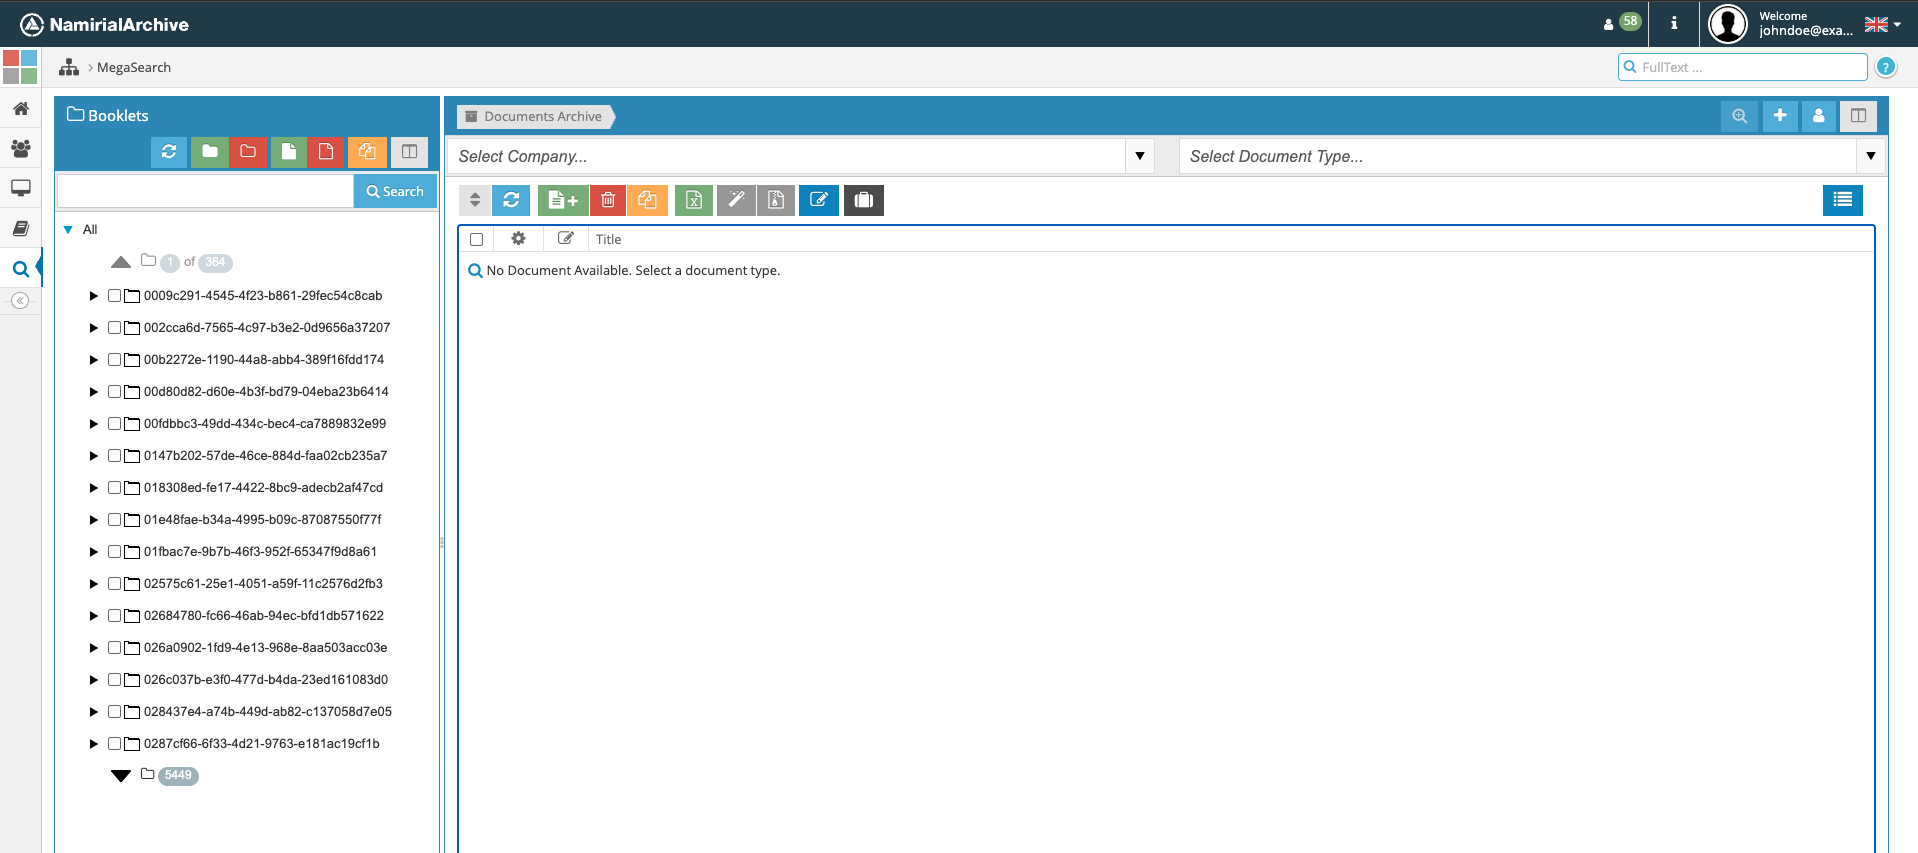
MegaSearch is where most document work happens. Its main capabilities are:
- Uploading and archiving documents.
- Creating and managing logical folders (booklets) to organize archived documents.
- Searching documents by full text, by folder, or by document type.
Click Archive document, then select or drag in the file. Complete the required metadata using the controls provided by the platform. Once the mandatory fields are set, the document is uploaded and becomes available in MegaSearch.
Booklets behave like a Windows/Mac directory tree, but the structure is logical only — it does not move the physical file. You can navigate between folders to reach a document, and the platform provides actions to create folders, delete folders, and move documents into folders.
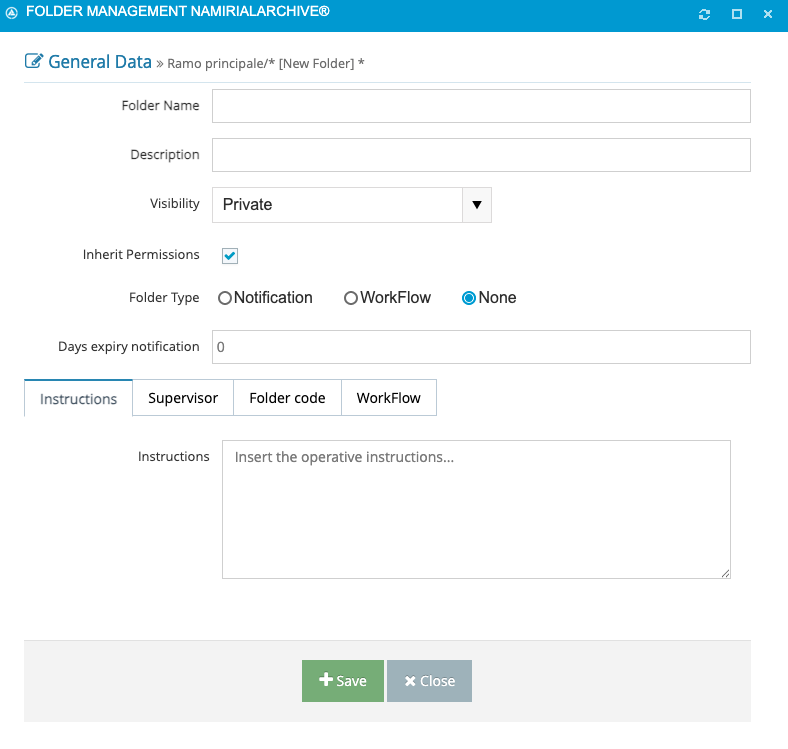
Create a folder. Click Add new folder and complete the fields (instructions, supervisor, folder code, and workflow). A folder can be public or private — create a nested folder inside another and mark it private if you want to restrict it.
Add a document to a folder. Select the destination folder and the document, then click Add document to folder. The document then appears inside the selected folder.
By document type. Filter by company and the document type configured for your tenant to list the matching documents. The available document-type names depend on the Namirial Archive configuration.
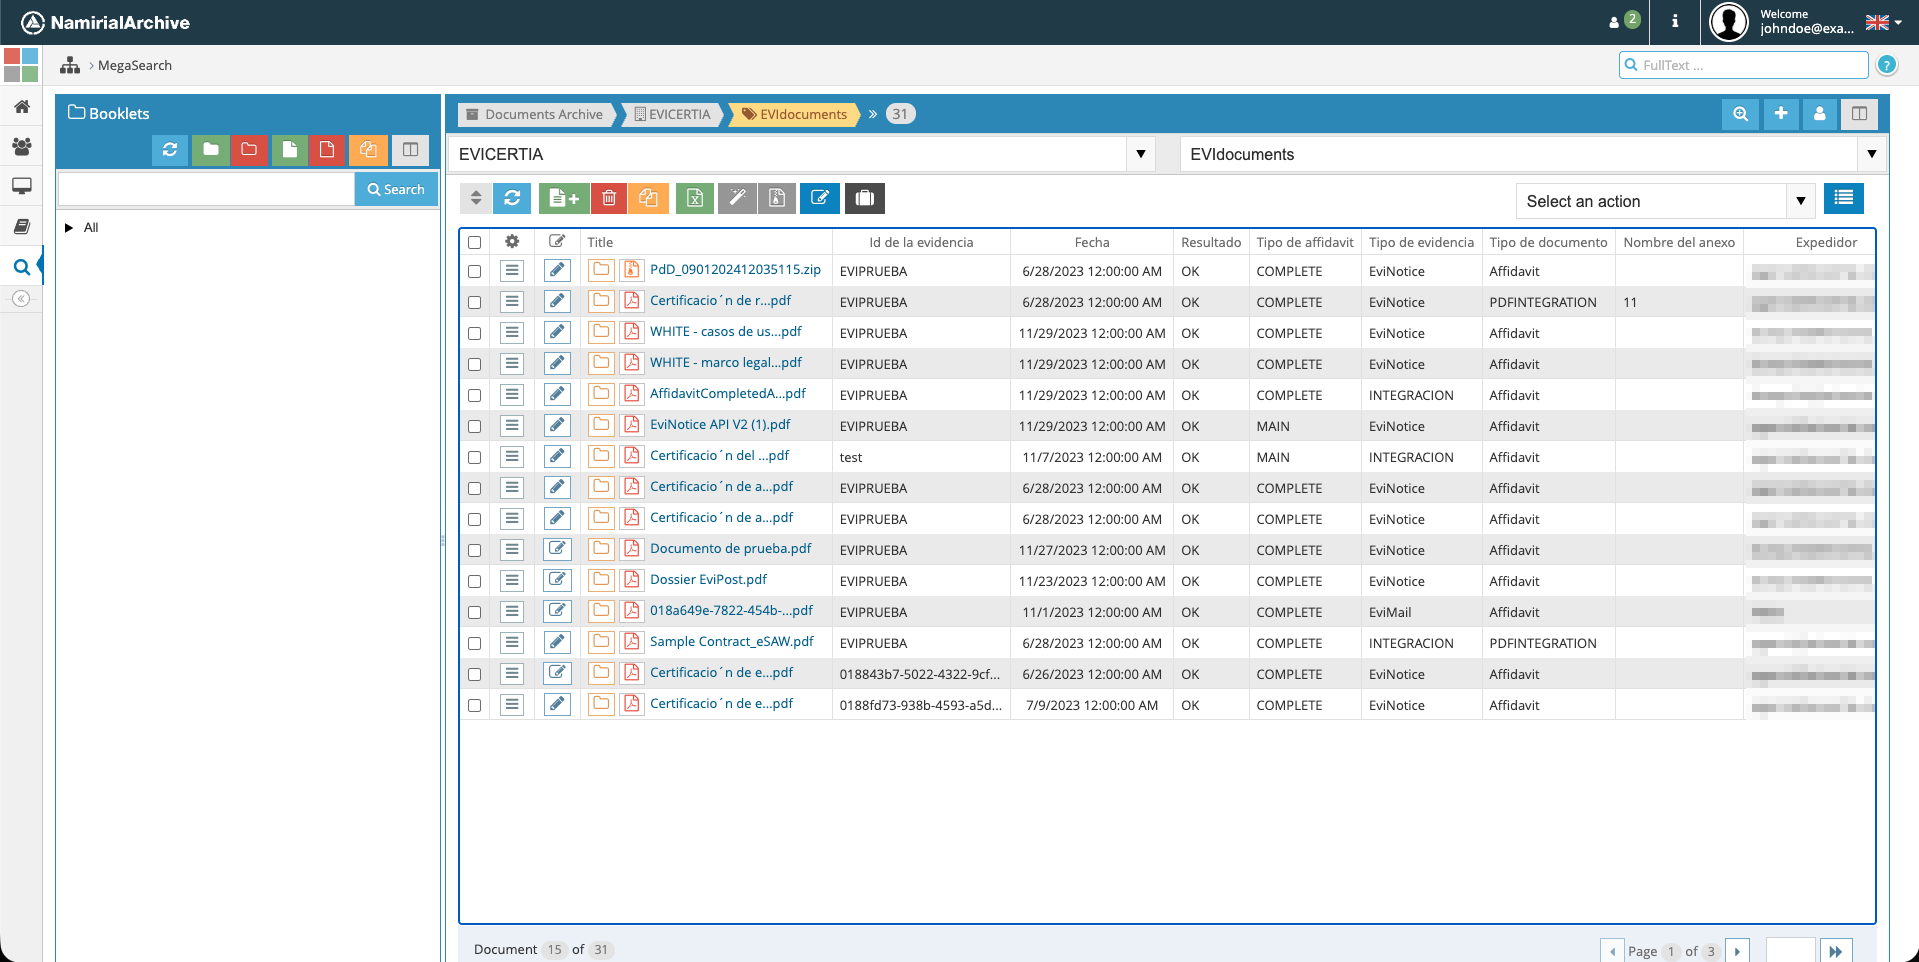
Finding your Namirial Notify evidence. Evidence archived through the Namirial Archive LTA plugin is stored under your company and classified using the document type or types configured for the Notify integration. Select your company and the configured document type, then use the available metadata — such as communication type or service — to narrow the results when necessary. Each archived item is the transaction's evidence bundle — typically the main content, the affidavit PDFs, any attachments, and the recorded notifications or delivery receipts.
By full text. Type a keyword in the top-right search box and click the magnifier. This broad search returns every document containing the word in its title or content; refine the results with the left-hand panel.
Cross search by type. Click the magnifier, choose the document type and the index to search, enter the value (for example the sender name) and the operator, then click Add to stack filters. When all filters are set, run the search. With Request Excel you receive a report containing the search results.
By preferences. Click the user icon to choose which properties are visible and fill the fields with the drop-downs. Additional preferences are available, and you can reset the fields to start over.
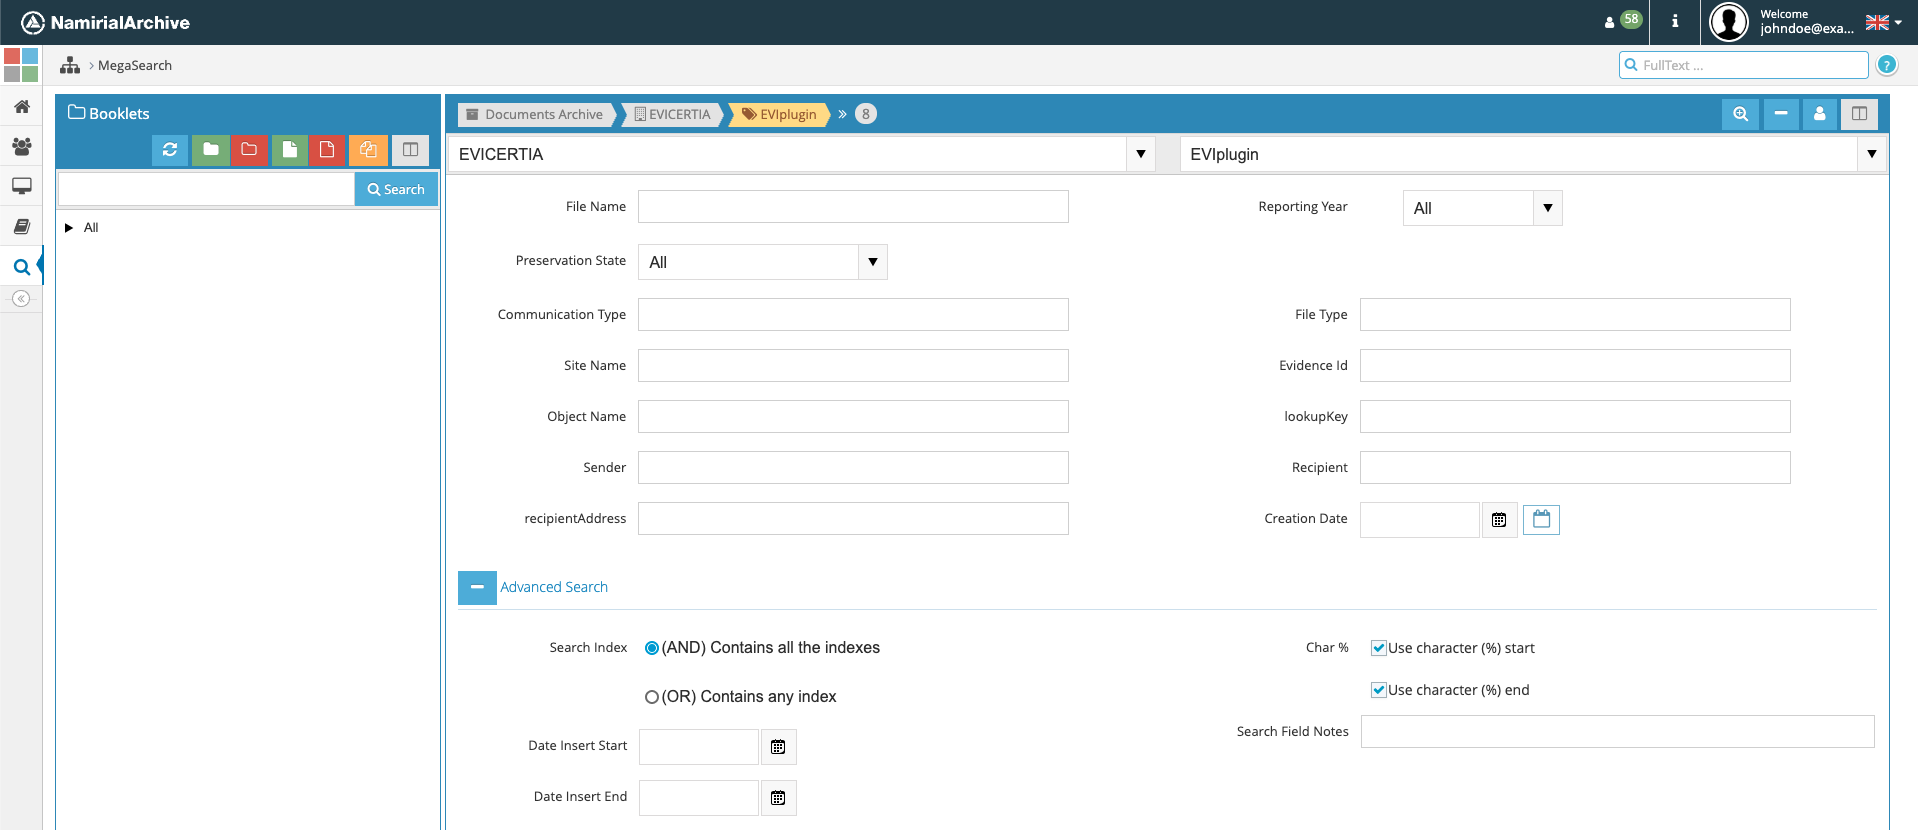
Advanced search. Click the + button to open extra fields. Here there are fewer assisted values, so most criteria are entered manually; some values, such as dates, still use dedicated controls. Use advanced search when the basic fields are not precise enough.
Beyond moving documents between folders, you can also change a document's location — its company and document type. Select the document, then choose the new location in the dialog, moving it from its current document type to another available type.
From MegaSearch you can view and edit a document's information and act on it.
Select the documents you want to compress. Before downloading, name the ZIP, review the files to be included, optionally add a note, and choose the compression and format.
Select an archived document and click Manage signature, then choose the device, signature type, and the user who must sign the document.
Generate PdD creates a distribution package for a document. Select the document, click the option, and confirm when prompted. The package then downloads to your device.
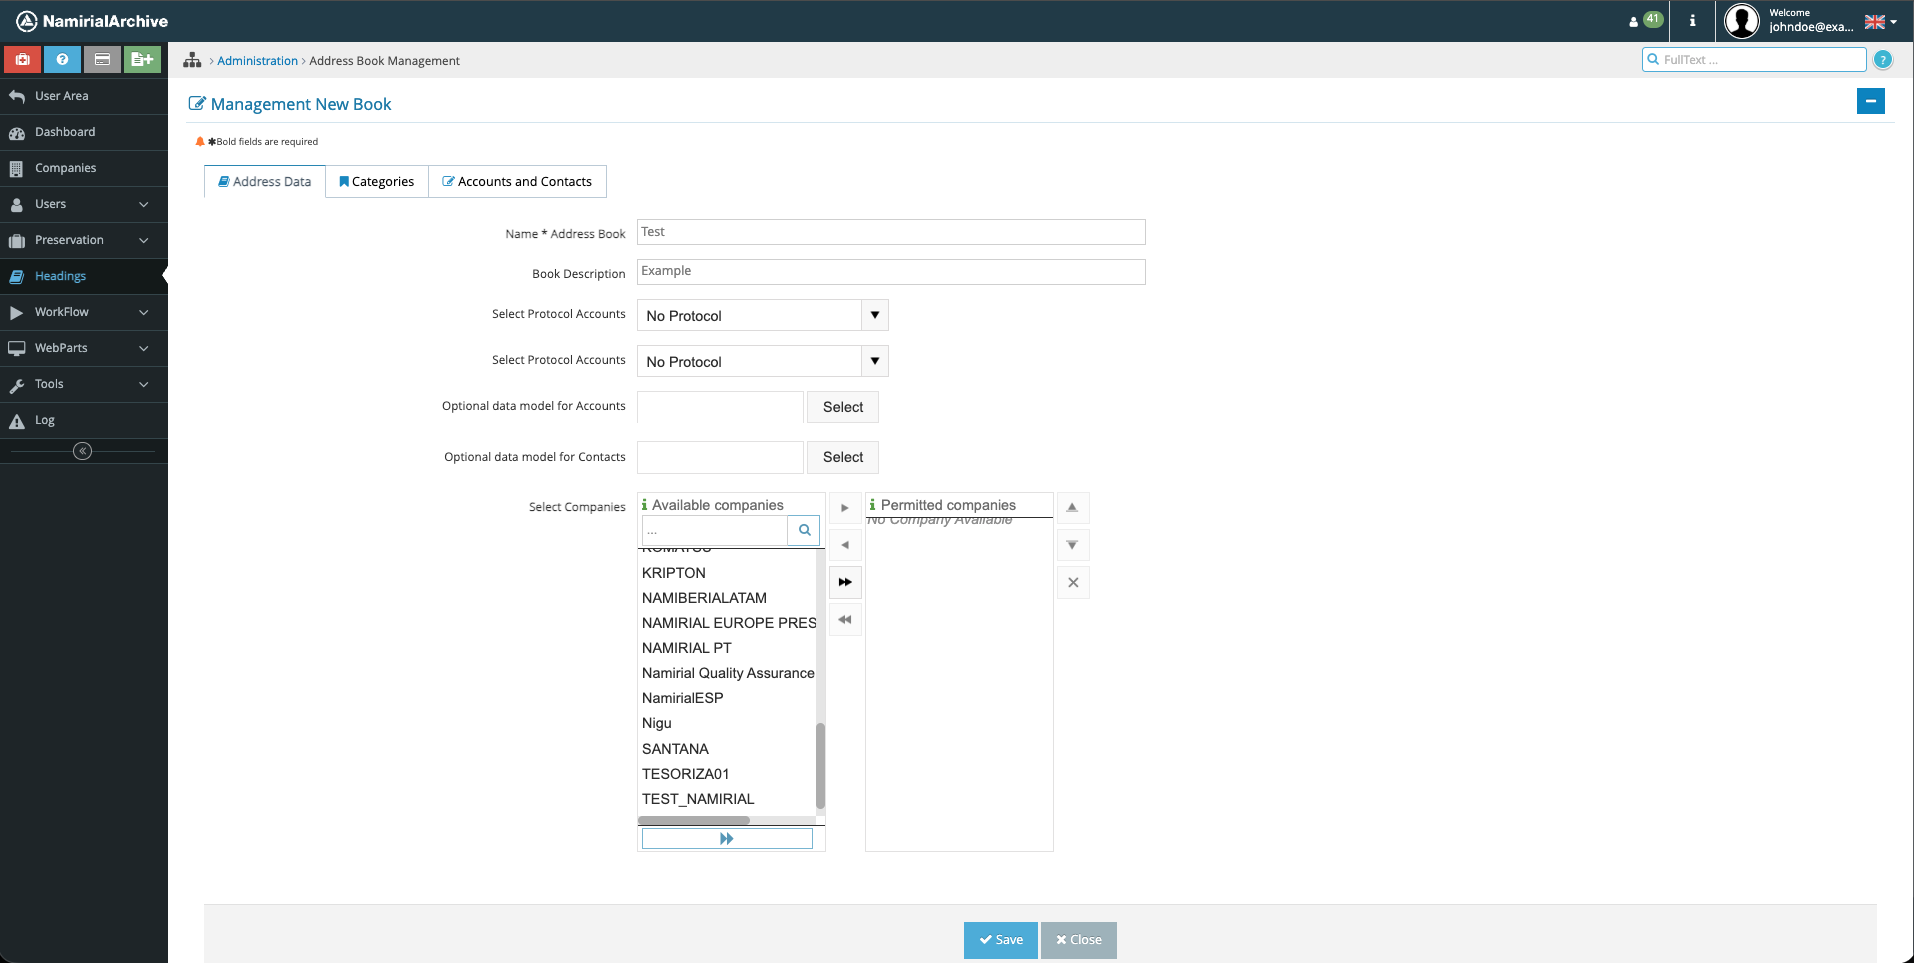
To manage address books and their contacts, open Site Manager, then go to Accounts and Contacts Management > Headings. Depending on the product version, the destination breadcrumb can appear as Address Book Management.
The address books view lists your existing books and how many contacts each holds, with options to modify or delete a book. Click the blue + to create a new one, then complete its properties: name, description, accounts-and-contacts protocol, optional accounts-and-contacts data model, companies authorized to access the book, categories, and the accounts and contacts to add. Save when done.
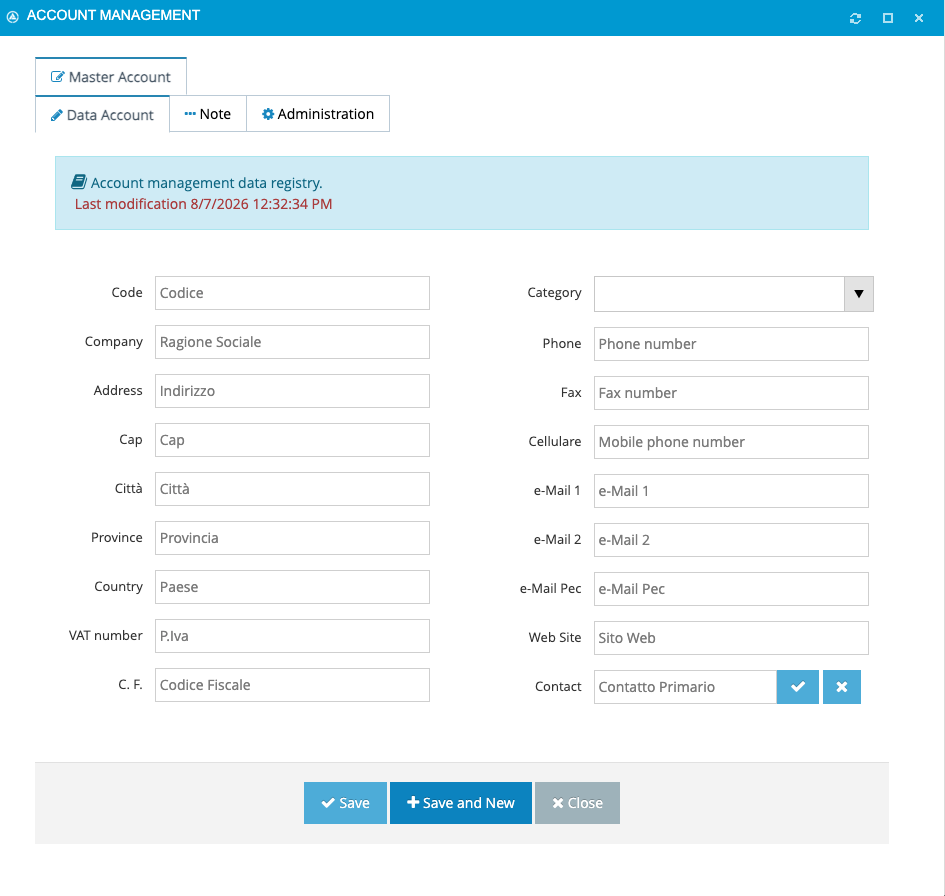
Inside a book, open Accounts and Contacts, select Accounts, and click New. Fill in the main details; you can also add notes. The information remains editable after saving — the last change is shown highlighted. Once an account exists, the same section also offers search, reset, delete, and download actions.
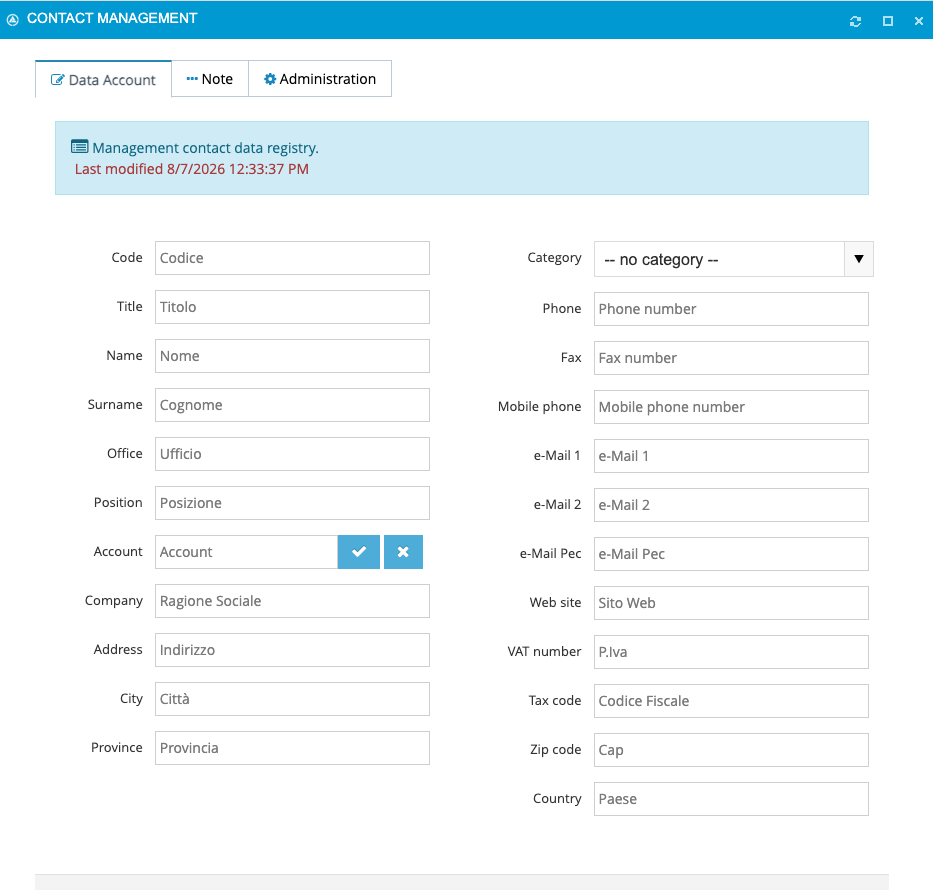
Similarly, select Contact and click New. Fill in the main details and add notes if needed; the record stays editable after saving, with the same search, reset, delete, and download actions available. Back on the main screen, you can confirm the new account and contact appear inside your address book.
- What is Namirial Archive — overview of the platform and its role for Namirial Notify.
- Archiving and retention — retention, custody, and LTA storage defaults in Namirial Notify.