This guide explains how site administrators review, add, and verify domains used for sending notifications and email-related communications.
The verification screen provides the exact DNS records required for the domain you entered. If your tenant shows values that differ from the legacy examples below, always use the values shown by the current product UI.
- you are signed in with site administrator permissions
- you can access the organization settings area
- you can make or request the required DNS changes for the domain
- Open Organization from the settings icon in the top-right toolbar.
- Select Domains in the left sidebar.
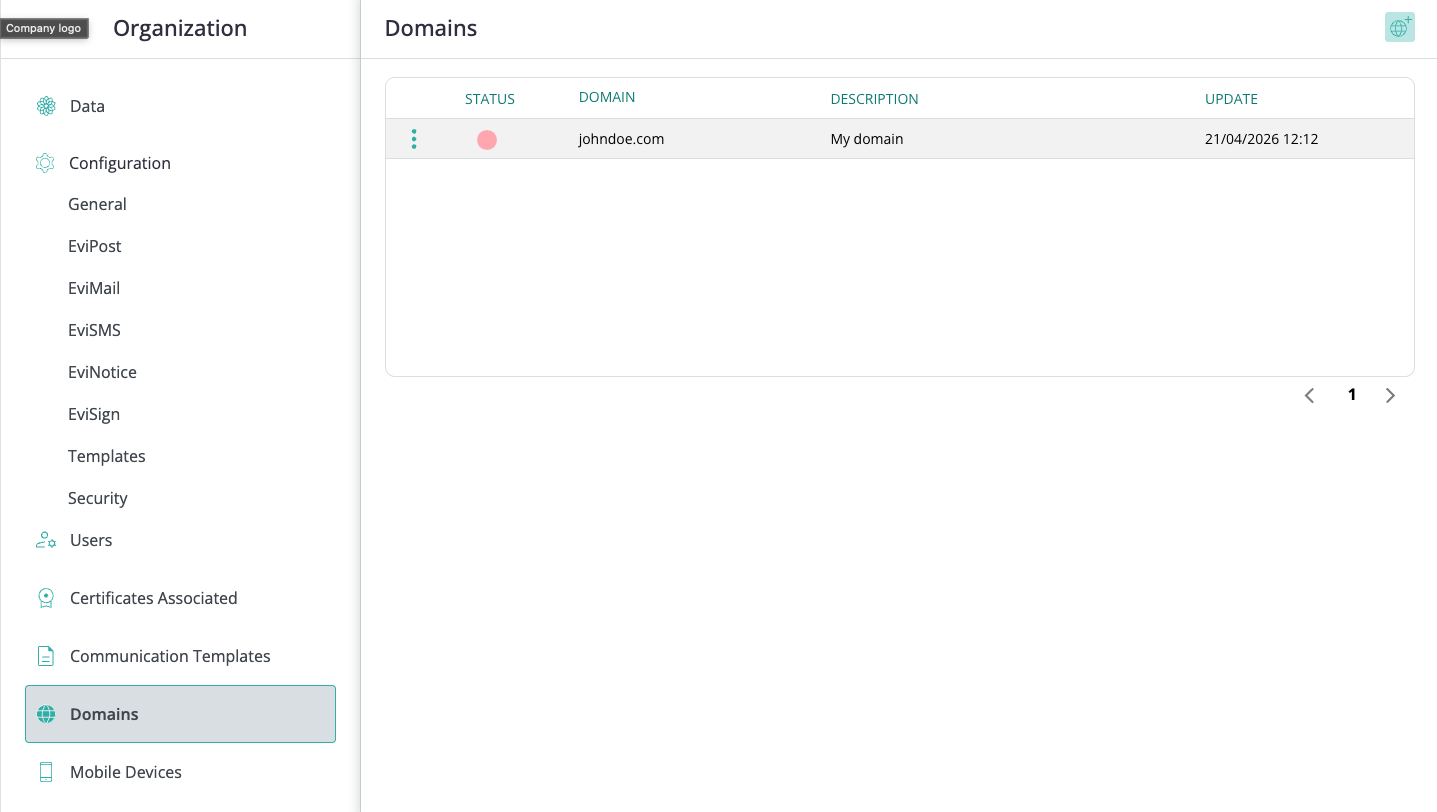
The Domains section lists sending domains configured for the organization. The list view includes an add-domain action, row actions, pagination, and columns for:
- status
- domain
- description
- update
- Open Domains.
- Select the add-domain action.
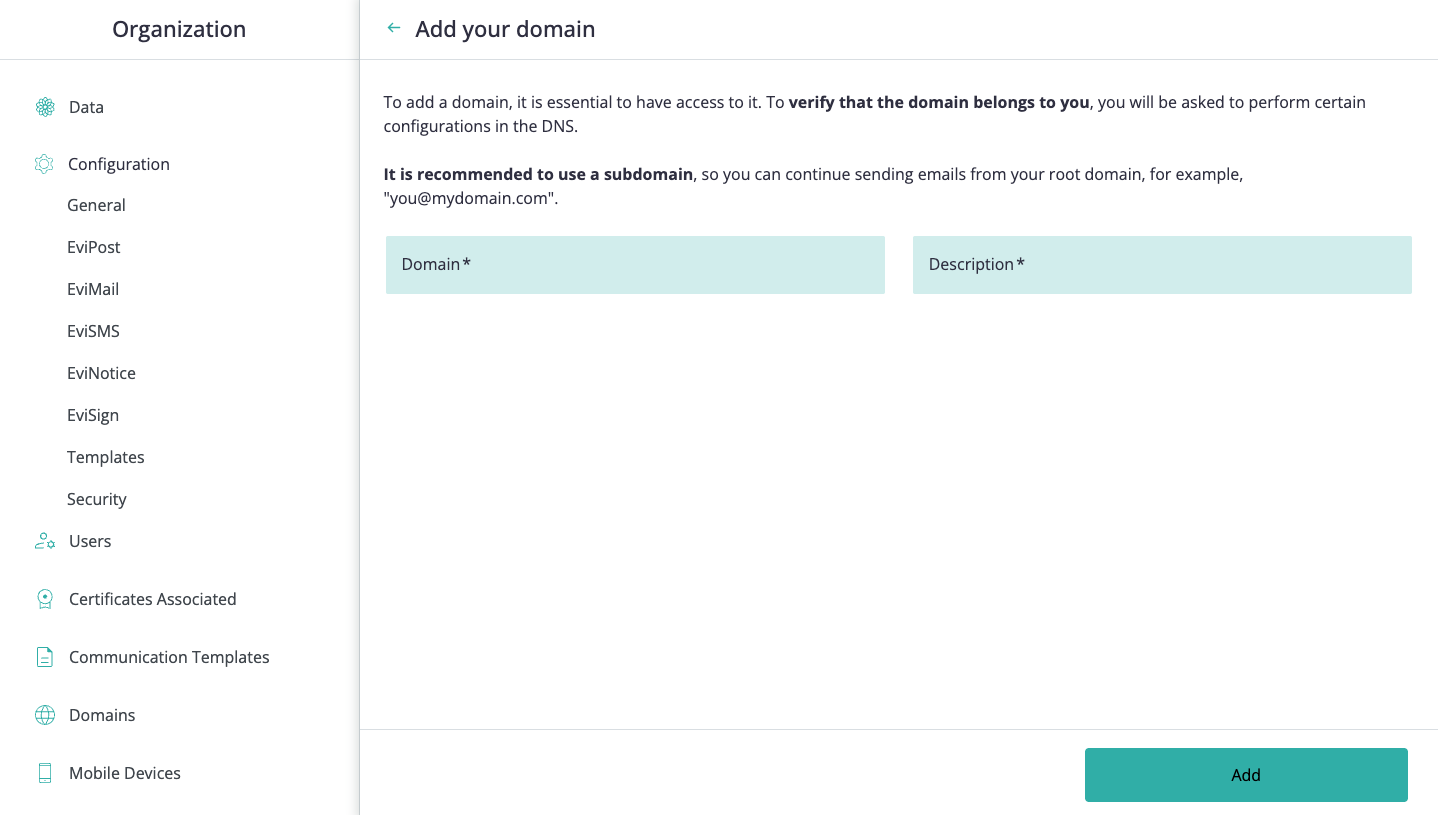
- Enter the required Domain and Description.
- Select Add.
- Complete the DNS configuration required to verify that the domain belongs to your organization.
The current UI reminds you that:
- you must have access to the domain or subdomain DNS settings
- the platform will verify domain ownership through DNS configuration
- using a subdomain is recommended so you can continue sending email from the root domain
After the domain is created, Namirial Notify opens the verification step and shows the DNS values that must be published for that domain.
- Review the DNS records shown in the verification screen.
- Copy the required SPF and DKIM values.
- Publish the records in your DNS provider.
- Wait for DNS propagation.
- Return to the verification screen.
- Select Verify domain.
- Confirm that the verification indicators are updated.
- Select Save.
The current verification screen exposes:
- a help panel that explains the DNS-verification process
- a summary of the selected
DomainandDescription - a DNS table with columns such as
Type,Hostname,Enter this value, andVerified - an Add custom DKIM key action
- Verify domain and Save actions
In the current UI, the DNS table typically contains:
- one SPF record with type
TXT - two DKIM records with type
CNAME
The exact hostnames and values are environment-specific. Always copy the values shown by the current product UI for the domain you are configuring.
The SPF record must authorize the sending infrastructure used by the platform.
Use the SPF row shown in the verification table for the exact Hostname and Enter this value pair required by your tenant.
Current environments typically expose one SPF row with:
- type
TXT - the selected sending domain or subdomain as the hostname
- an
include:value that points to the platform SPF configuration for that environment
Legacy environments required an SPF record that included _spf.evicertia.com. A legacy example was:
example.com TXT "v=spf1 mx include:_spf.evicertia.com ~all"Your current tenant can show a different hostname or include value in the verification screen. Copy the exact value shown there when configuring DNS.
The verification flow can expose one of two DKIM approaches:
Current environments typically expose two DKIM CNAME records in the verification table. The selector names can differ by environment, so copy the exact values shown by the UI.
Legacy environments commonly used two shared selectors provided by the platform. In that model, the DNS provider had to publish CNAME records following this pattern:
| Selector | Hostname pattern | Target pattern |
|---|---|---|
herma-a | herma-a._domainkey.<your-domain> | herma-a._domainkey.evicertia.com |
herma-b | herma-b._domainkey.<your-domain> | herma-b._domainkey.evicertia.com |
Example:
herma-a._domainkey.acmedomain.com CNAME herma-a._domainkey.evicertia.com.
herma-b._domainkey.acmedomain.com CNAME herma-b._domainkey.evicertia.com.If the UI exposes Add custom key, you can create your own DKIM selector and publish a TXT record with the generated public key.
The resulting record usually follows this pattern:
<selector>._domainkey.<your-domain> TXT "v=DKIM1; k=rsa; p=<generated-public-key>"Use the exact selector name and public key generated by the verification flow.
To register an email address for your existing user account, open Profile > Emails and follow the Email addresses instructions. You do not need to create a new user account.
An email address is active for sending notifications only if the site administrator has configured the corresponding domain and the required DNS changes have been completed.
Before adding or changing a domain, confirm:
- you have permission to configure DNS for the domain or subdomain
- the domain belongs to the organization
- using a subdomain is acceptable for the sending use case
- registered user email addresses depend on the domain being configured and verified
- DNS changes have propagated before treating the domain as ready
- if you are using a custom DKIM selector, the published public key exactly matches the one generated by the platform
- after successful verification, you still save the domain configuration from the verification screen
The organization domain is listed in Domains, the verification indicators show success for the required SPF and DKIM records, and user email addresses under that domain can become active.