A signature layout defines what information appears in the visual signature imprint stamped on a document when a recipient signs. NSE lets you configure one default layout that applies organization-wide, plus custom layouts that can be applied to individual signature fields via the API.
Navigate to Settings → Organization Settings → General → Signature Layouts.
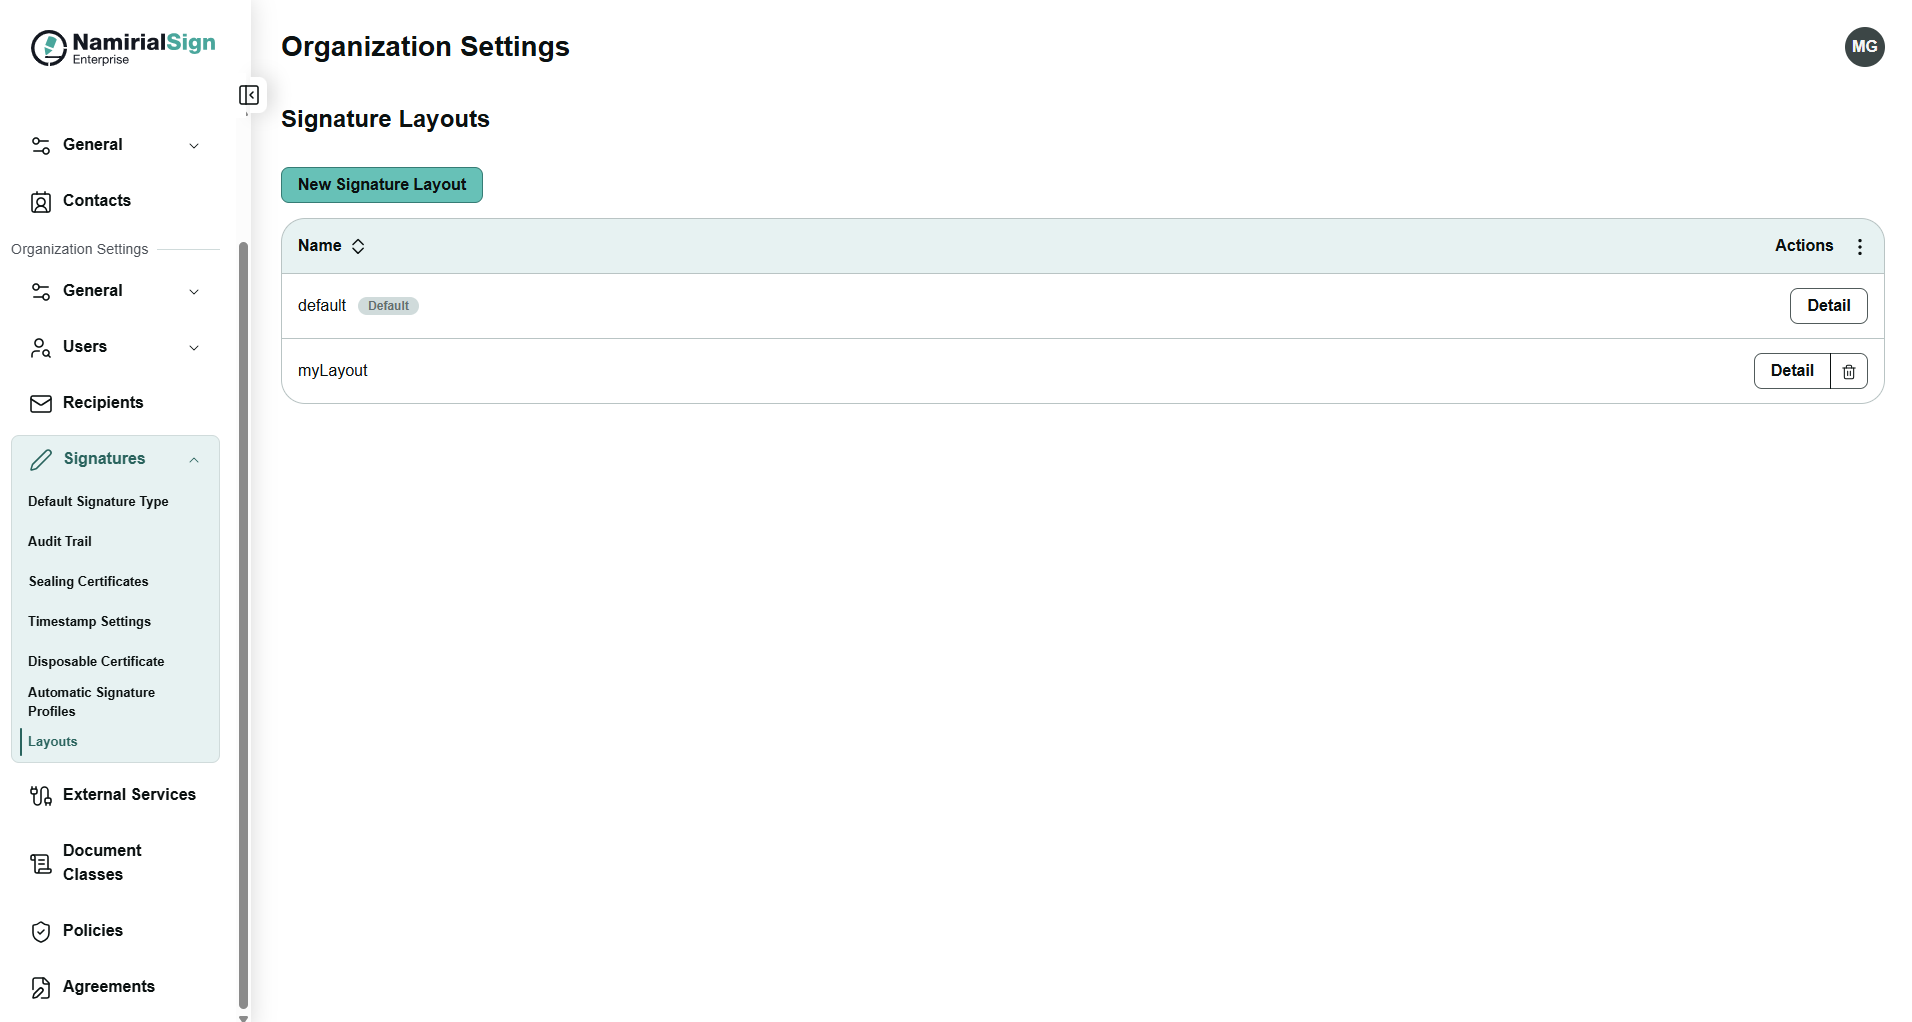
The default layout applies to every signature field where no custom layout is specified. Use the toggles to enable or disable each piece of information:
| Toggle | What it shows in the imprint |
|---|---|
| Display given name | Signer's first name |
| Display surname | Signer's last name |
| Display custom text | A static custom text string |
| Display date and time | Date and time of signing |
| Display email | Signer's email address |
You can also upload a background image that appears on the imprint content on every signature. If a background image was uploaded it is possible to configure where the image should be displayed. See the following options:
- Full background
- Above the text
- Below the text
- Left of the text
- Right to the text
Custom layouts let you define alternative imprint configurations — for example a layout without a date, or one with a different background image for a specific brand or document type.
To create a custom layout:
- Click Add custom layout.
- Enter a Layout Name. This name is what you reference in the API.
- Configure what should be displayed as imprint for the signature.
- Click Save.
You can create multiple custom layouts. Each is identified by its name.
Important: The layout name is case-sensitive and must match exactly what you pass in the API.
If the custom layout has the custom text enabled it is possible to define a custom text on the stage recipient level. See the following sample configuration:
{
  "type": "Automatic",
  "languageCode": "en",
  "signatureProfile": "Automatic Profile",
  "signatureReason": "I agree to the terms.",
  "metadata": [
    {
      "name": "customText",
      "value": "First Signature"
    }
  ]
}Custom layouts are applied at the signature field level, inside allowedSignatureTypes, when you place field tasks on a document.
For a complete overview of the envelope creation workflow, see Basic Envelope Workflow.
Each signature type beside of the BiometricSignature entry in allowedSignatureTypes accepts an optional layoutName field. Set it to the name of a custom layout defined in the UI. When the signer completes that field, the specified layout is used for the imprint instead of the organization default.
"allowedSignatureTypes": [
  {
    "signatureType": "TypeToSignSignature",
    "layoutName": "TEST1"
  }
]
If layoutName is omitted, the organization's default layout applies.
The request below places a single signature field on page 1 and applies the TEST1 custom layout to the imprint:
PUT /api/v1/organizations/{organizationId}/envelopes/{envelopeId}/files/{fileId}/tasks
Authorization: Bearer {jwt_token}
Content-Type: application/json
{
"tasks": [
{
"field": {
"fieldType": "Signature",
"id": "signature",
"page": 1,
"positionX": 100,
"positionY": 650,
"width": 200,
"height": 60,
"allowedSignatureTypes": [
{
"signatureType": "TypeToSignSignature",
"layoutName": "TEST1"
}
]
},
"recipientId": "{recipientId}",
"sortOrder": 1
}
]
}If you allow the signer to choose between multiple methods, add layoutName to each entry:
"allowedSignatureTypes": [
  { "signatureType": "ClickToSignSignature", "layoutName": "TEST1" },
  { "signatureType": "DrawToSignSignature",  "layoutName": "TEST1" },
  { "signatureType": "TypeToSignSignature",  "layoutName": "TEST1" }
]You can assign a different layout to each signing method — for example a branded layout for type-to-sign and a minimal one for click-to-sign:
"allowedSignatureTypes": [
  { "signatureType": "ClickToSignSignature", "layoutName": "TEST1" },
  { "signatureType": "TypeToSignSignature",  "layoutName": "TEST2" }
]