This feature allows you to digitally sign one or more documents with electronic certificates. The procedure is very simple and is described in the following subsections. Before starting, make sure you have inserted the smart card into the reader, the token into the USB port, or have a remote signature account configured (or electronic seal or automatic signature, which will be treated as remote signature unless otherwise specified).
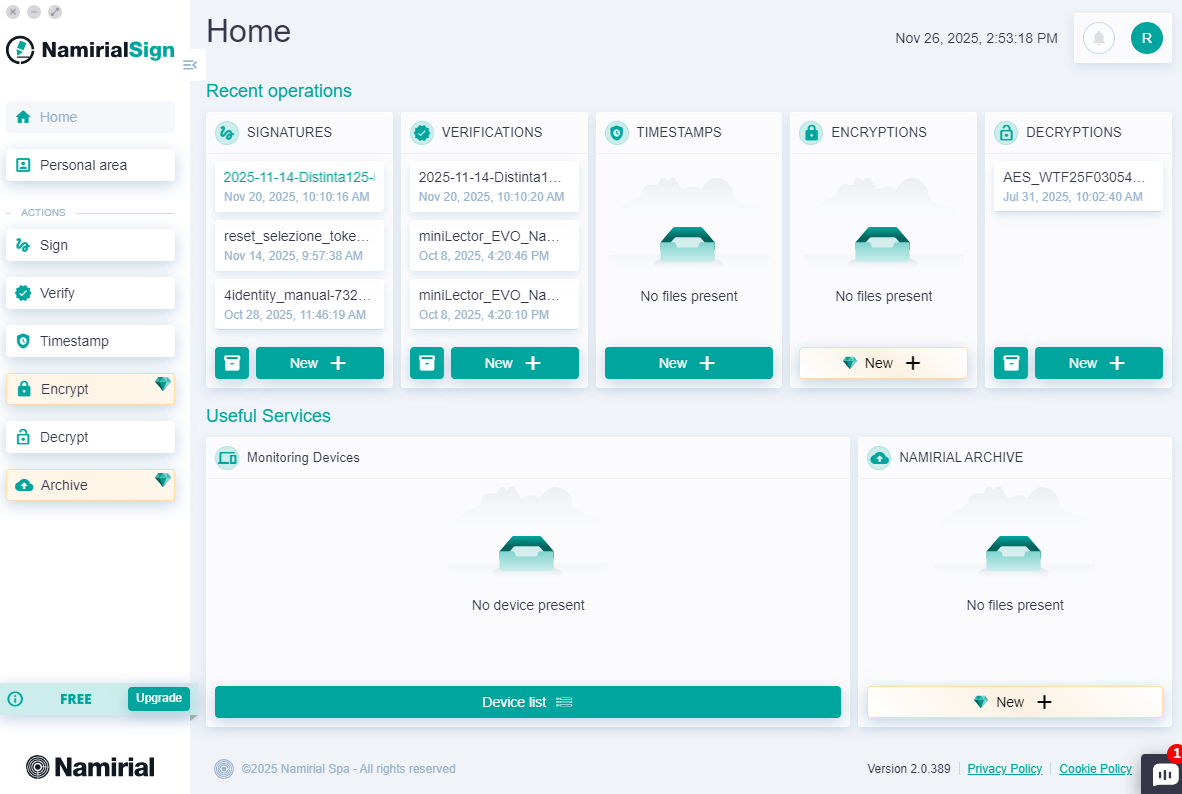
You can start the signing operation in one of the following ways:
- By clicking the "Sign" button in the always-present left menu;
- By clicking the "New +" button on the Home page in the "SIGNATURES" card;
- By dragging one or more files onto the "SIGNATURES" card on the Home page.
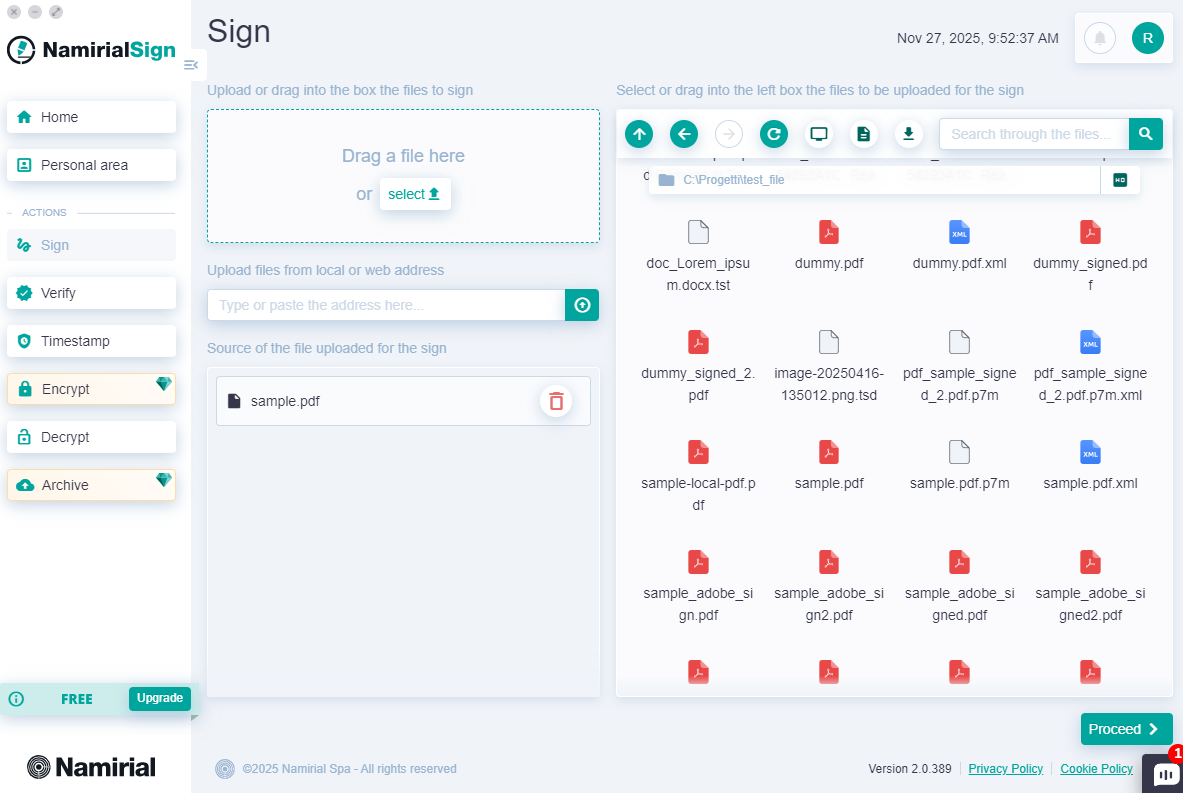
File selection can be done in four ways:
- Dragging it into the top left section from the desktop or a folder;
- Clicking "select" and browsing files from the operating system;
- Entering the file link, which can be a local or web path;
- Using the integrated explorer on the right.
The selected files are added to the section below, and you can remove any documents mistakenly added to the signing queue before proceeding.
Once one or more files are added, press the "Proceed" button.
On the next screen, the selected files will appear grouped in separate tabs. If needed, you can also add new ones with the "+" button or remove some with the "x" button.
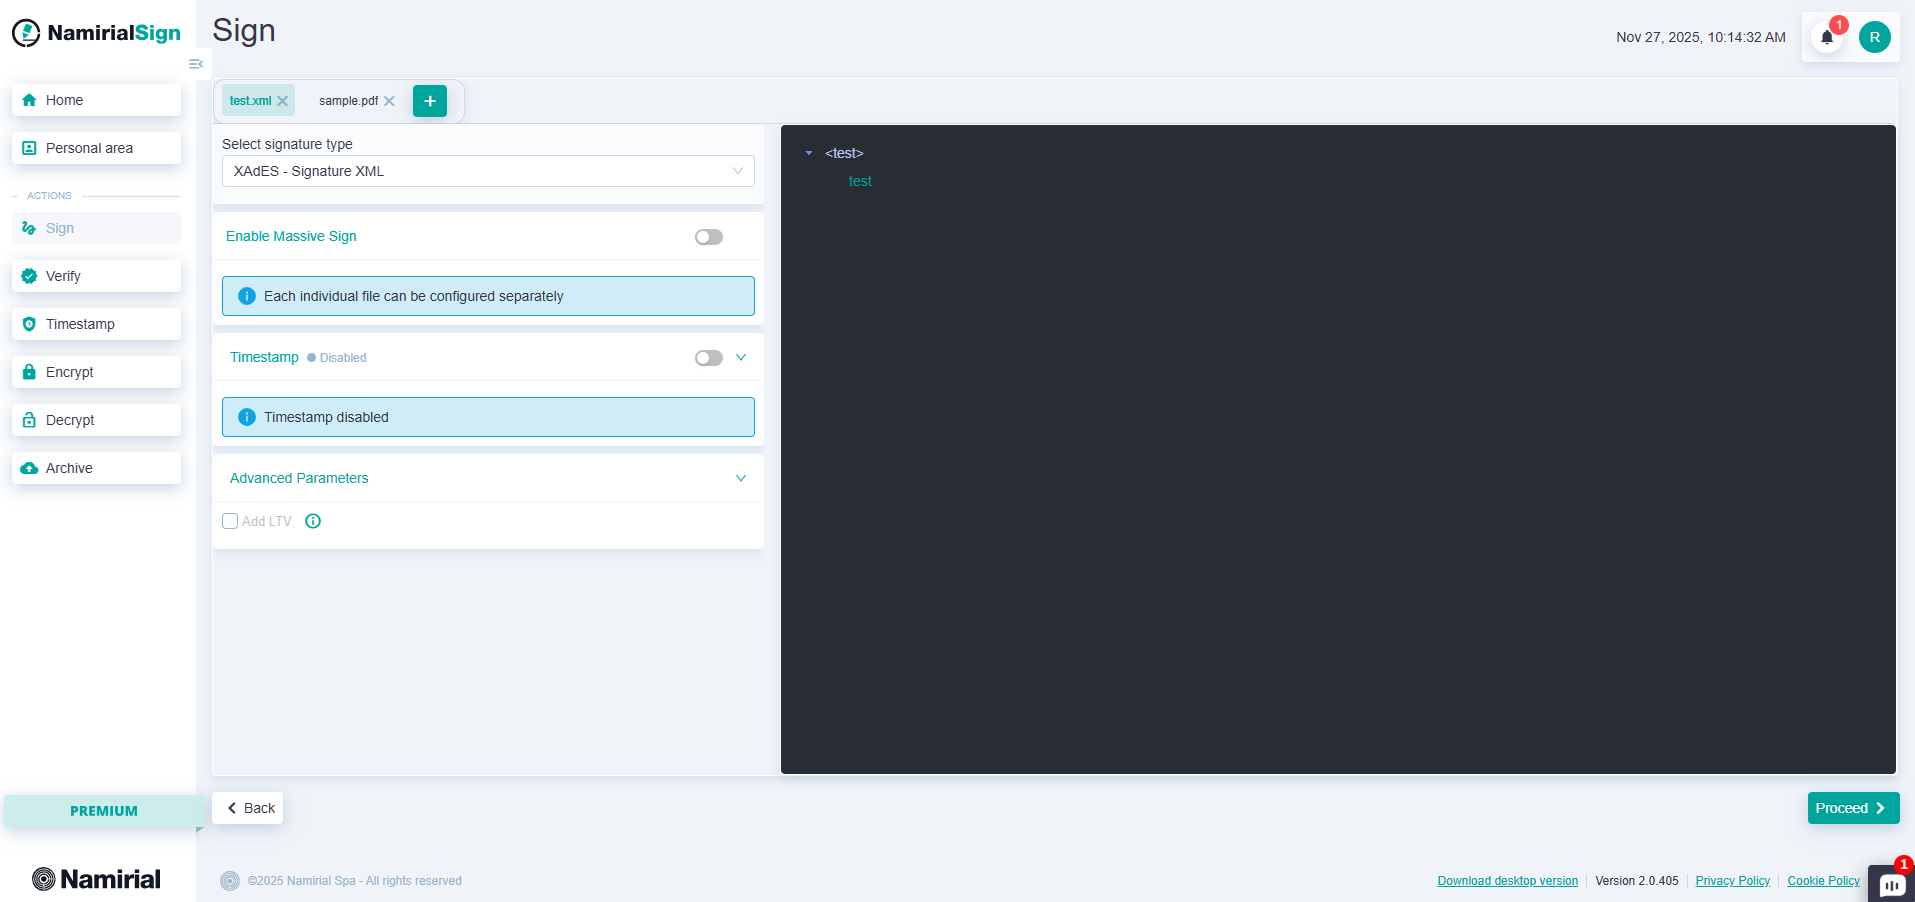
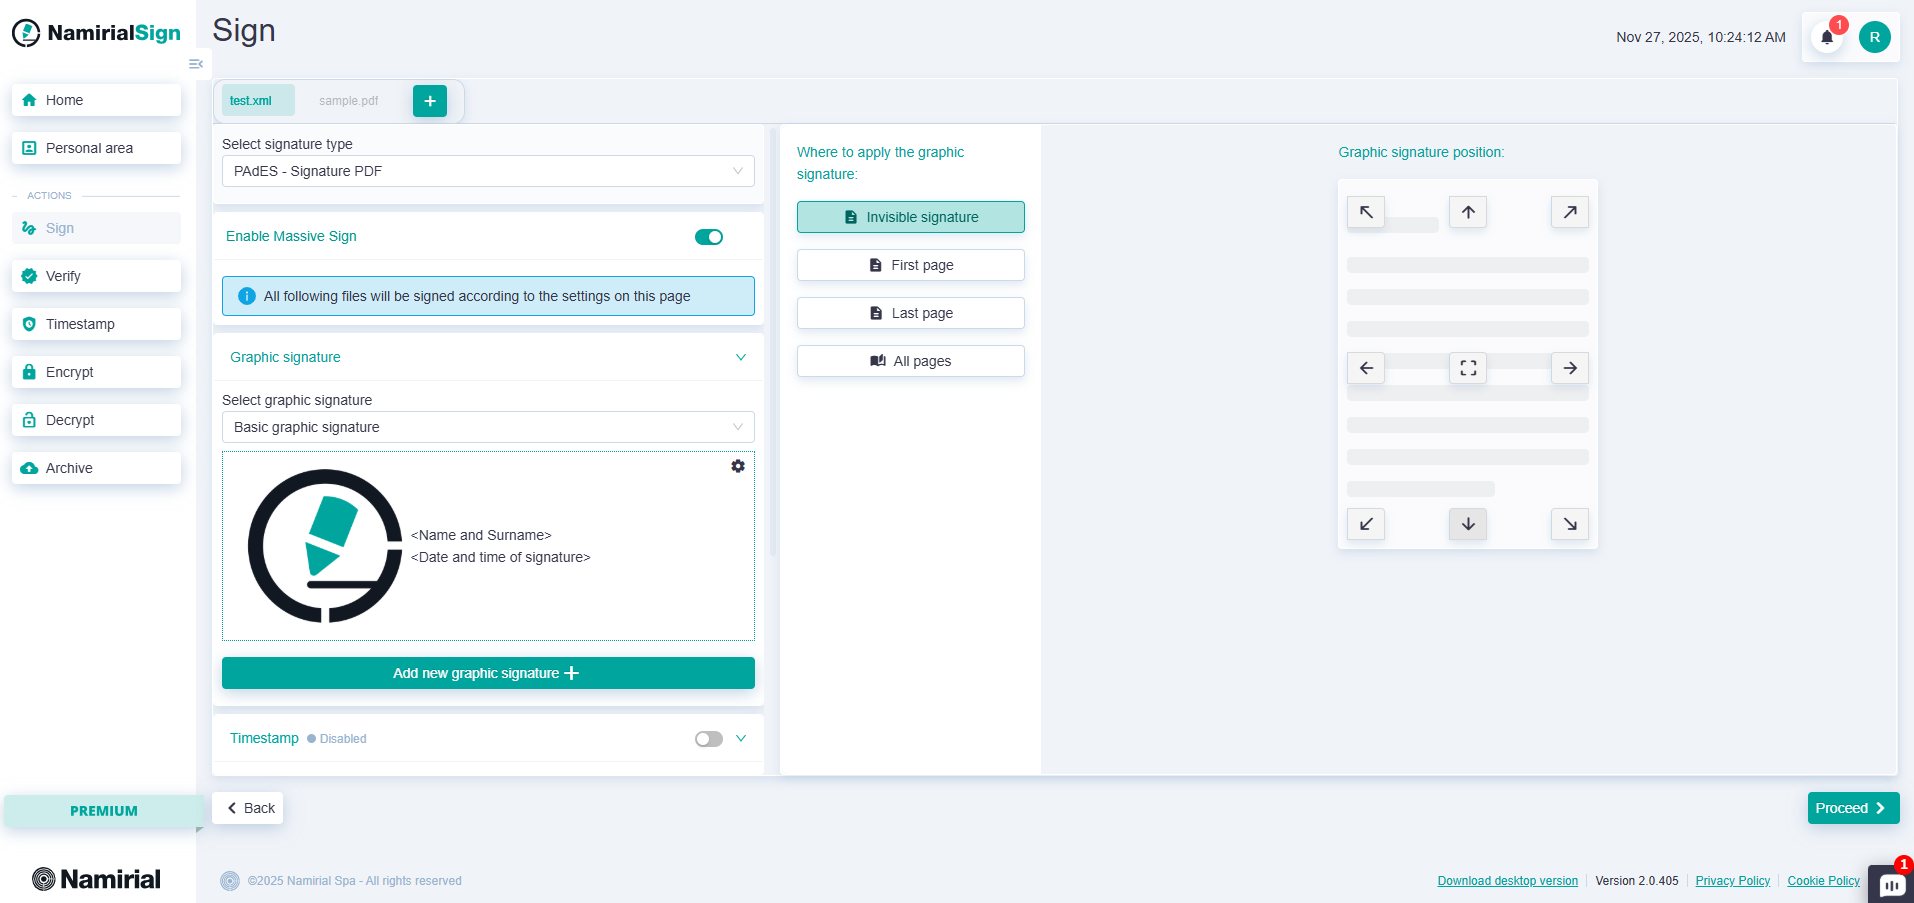
"Massive Signature" Section (only present if multiple files are loaded)
Premium users can configure all files individually by keeping "Massive Sign" disabled. Free users, if they keep it disabled, will only sign the first selected file. Enabling massive sign allows you to use the same configurations for all files to be signed, for both Premium and Free users.
"Select Signature Type" Section
This is a dropdown menu where you can select the type of signature, choosing from:
| Extension | Description |
|---|---|
| PAdES | Can be applied to files with .pdf extension, generating a signed .pdf file. Premium users can also choose to convert the unsigned PDF to PDF/A format. |
| CAdES | Can be applied to files of any extension, generating a signed .p7m file. |
| XAdES | Can be applied to files of any extension, generating a signed .xml file. |
| ASiC-S CAdES ASiC-S XAdES | Can be applied to files of any extension, generating a signed .asics file. |
"Graphic Signature" Section (only for PAdES signature)
In this section, you can choose the graphic signature label to apply to the document. You can also configure a new one with the "Add new graphic signature +" button. Once the label is chosen, if bulk signature is not enabled, to add a graphic signature simply double-click on the preview page on the right where you want to insert the signature. If you want the signature to be applied to all pages, just check the "Position on all pages" option.
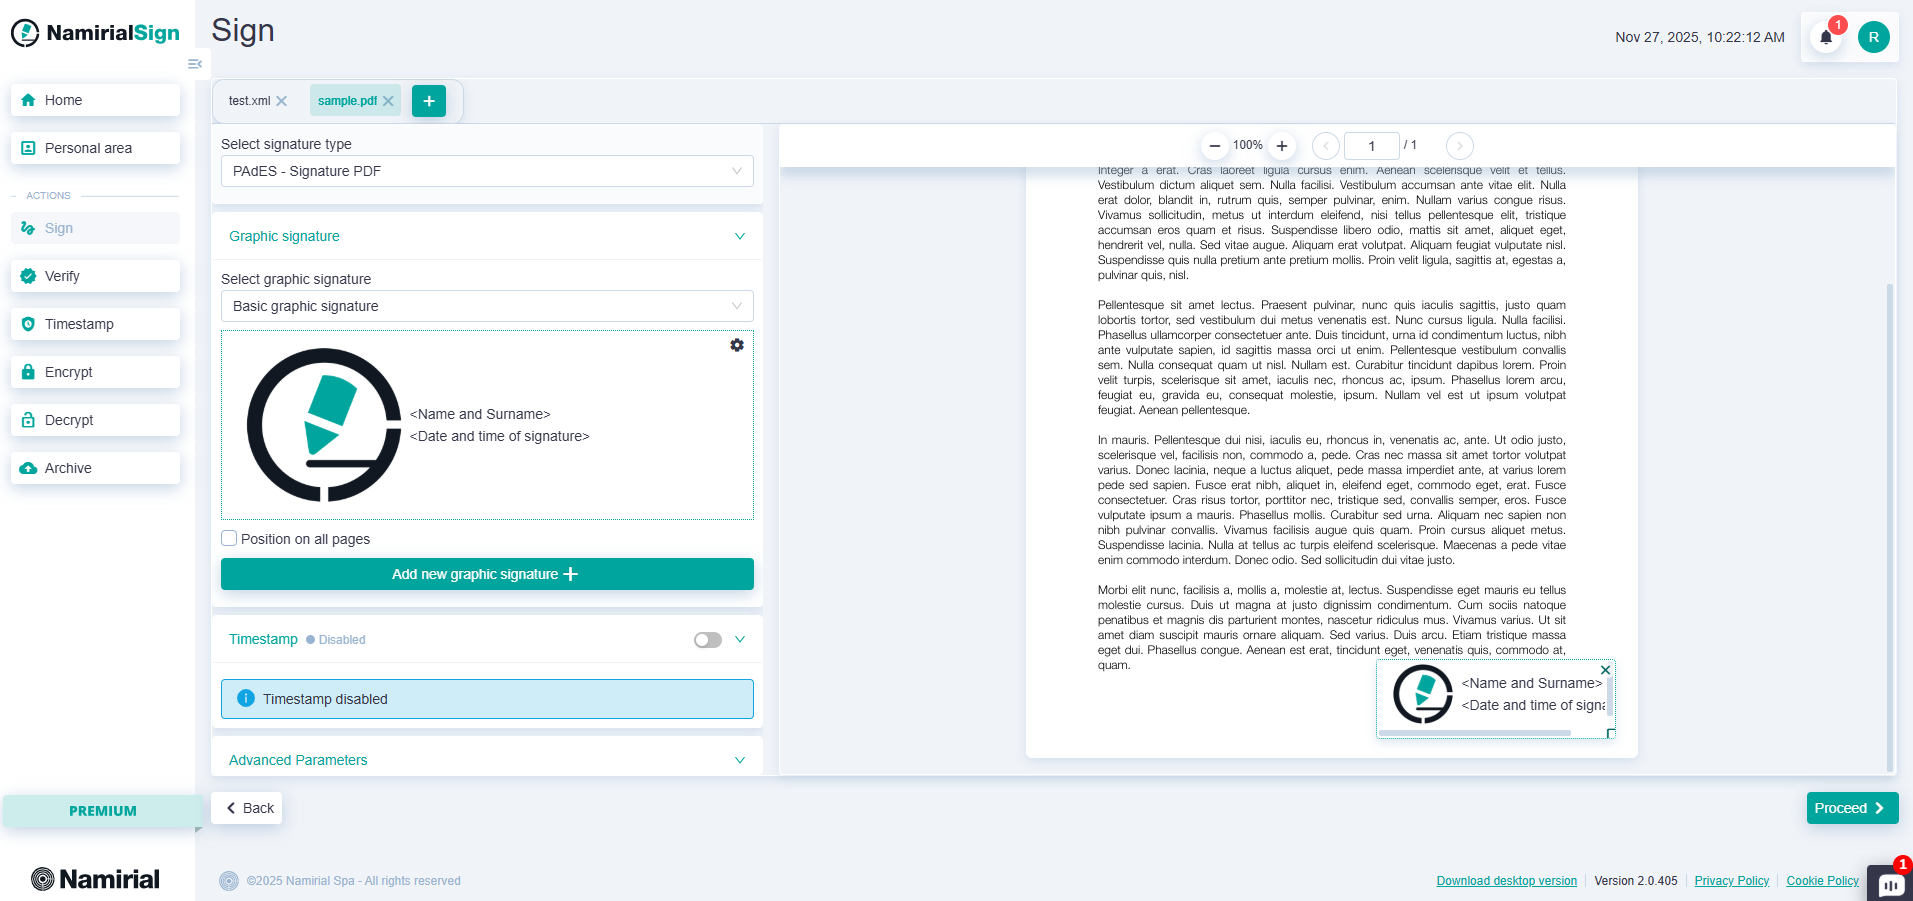
In massive sign mode, instead of the preview, a configuration will appear where you can choose where and whether to apply the graphic signature.
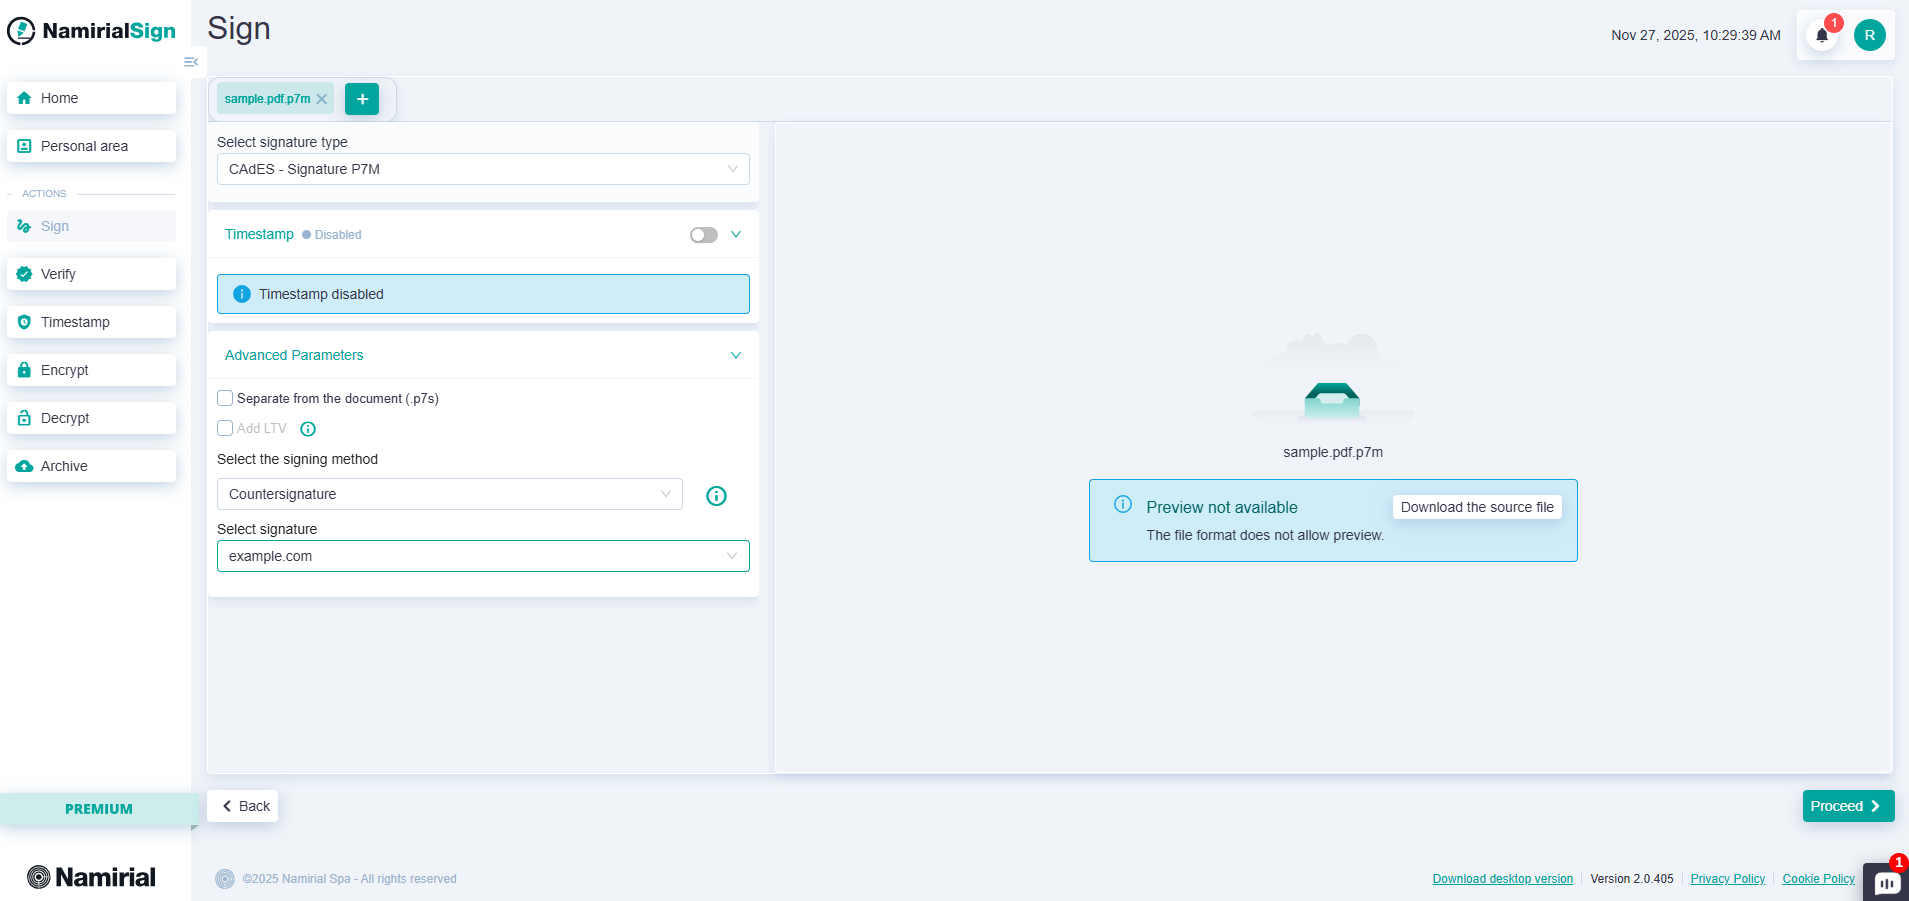
"Timestamp" Section
After enabling the section, a dropdown menu appears with the timestamps configured in your personal area. If you want to add a new timestamp without interrupting the signing flow, you can click "Add new +", configure it, and optionally save it.
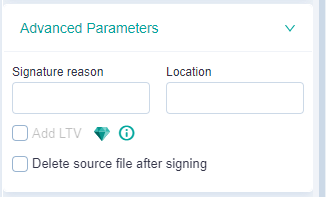
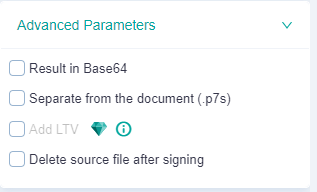
"Advanced Parameters" Section
For a PAdES signature
- You can add two pieces of information that will be visible during document verification: the reason for signing and the location.
For a CAdES signature
- You can set the result in Base64, and/or generate a detached CAdES;
- If you sign an already signed .p7m file, you can choose one of the following three options:
| Option | Description |
|---|---|
Parallel Signature  | Applies a signature to the document alongside existing first-level signatures. |
Encapsulated  | Applies a signature to the document including the signatures already present. |
Countersignature  | Applies a countersignature to one of the signatures already present. |
For all signature formats
Additionally, if the timestamp service is enabled and the certificate is still valid, you can apply an LTV signature. Finally, you can choose whether to keep the original file after signing or delete it automatically.

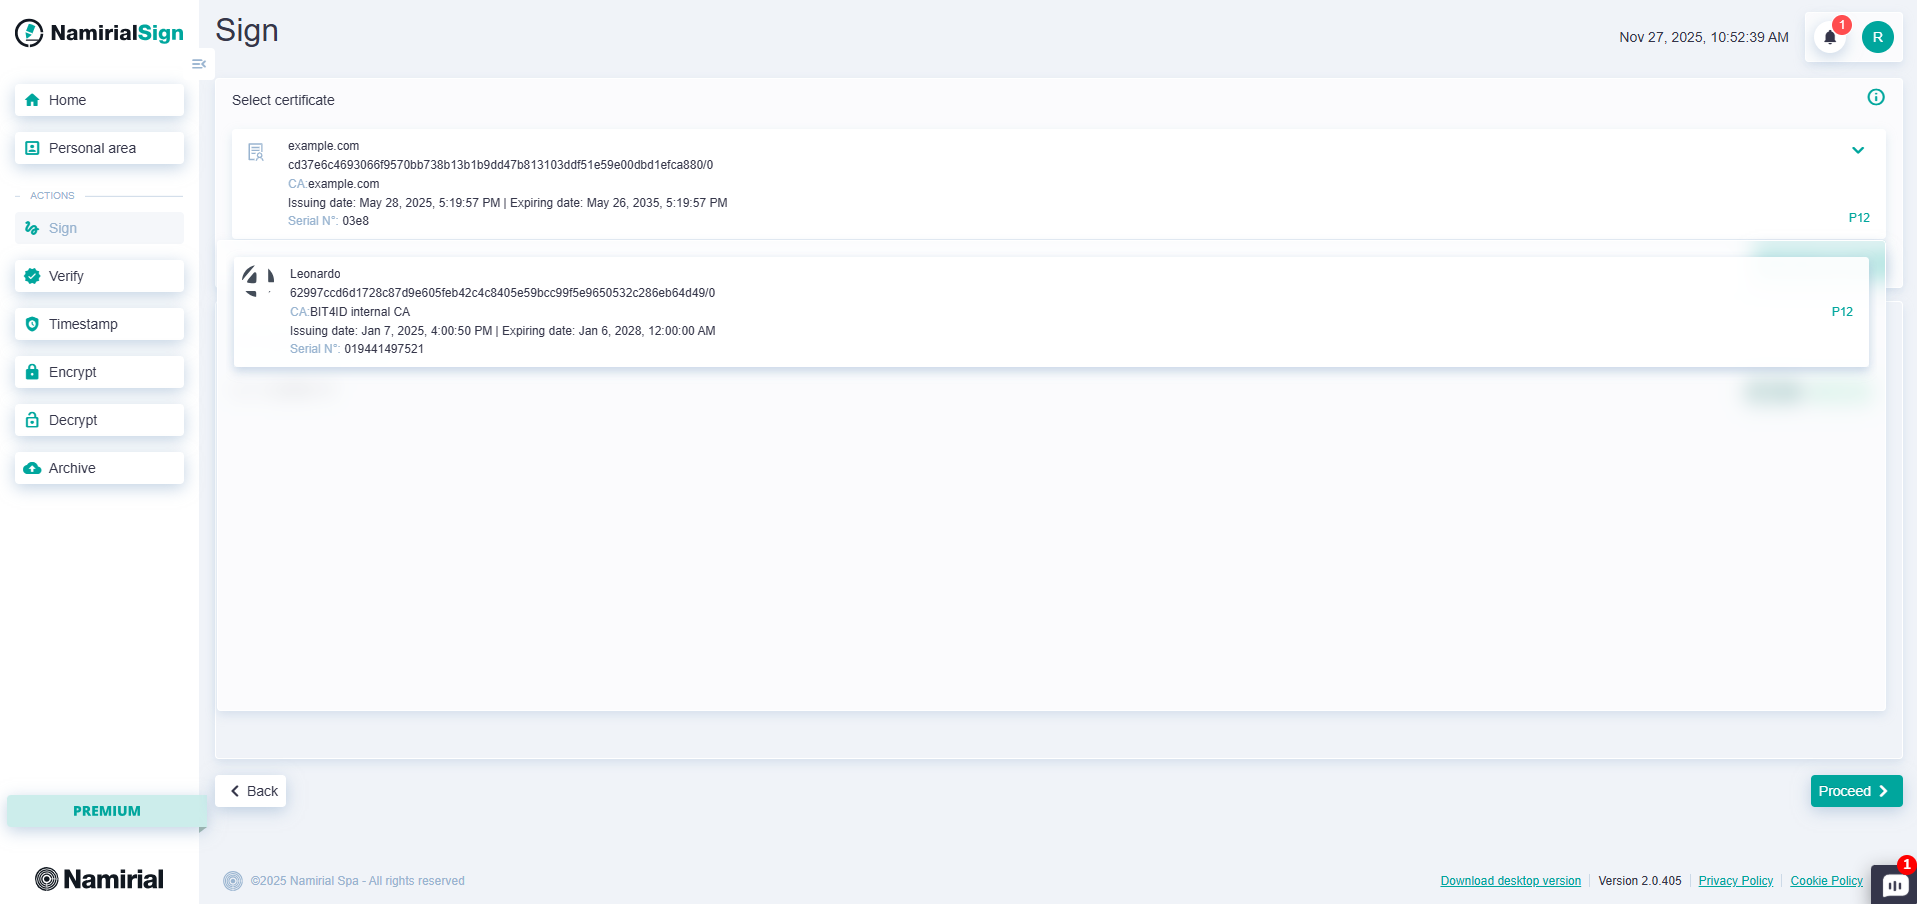
After configuring everything, press "Proceed". The next step is to choose the certificate and destination folder (the latter is not available for web).
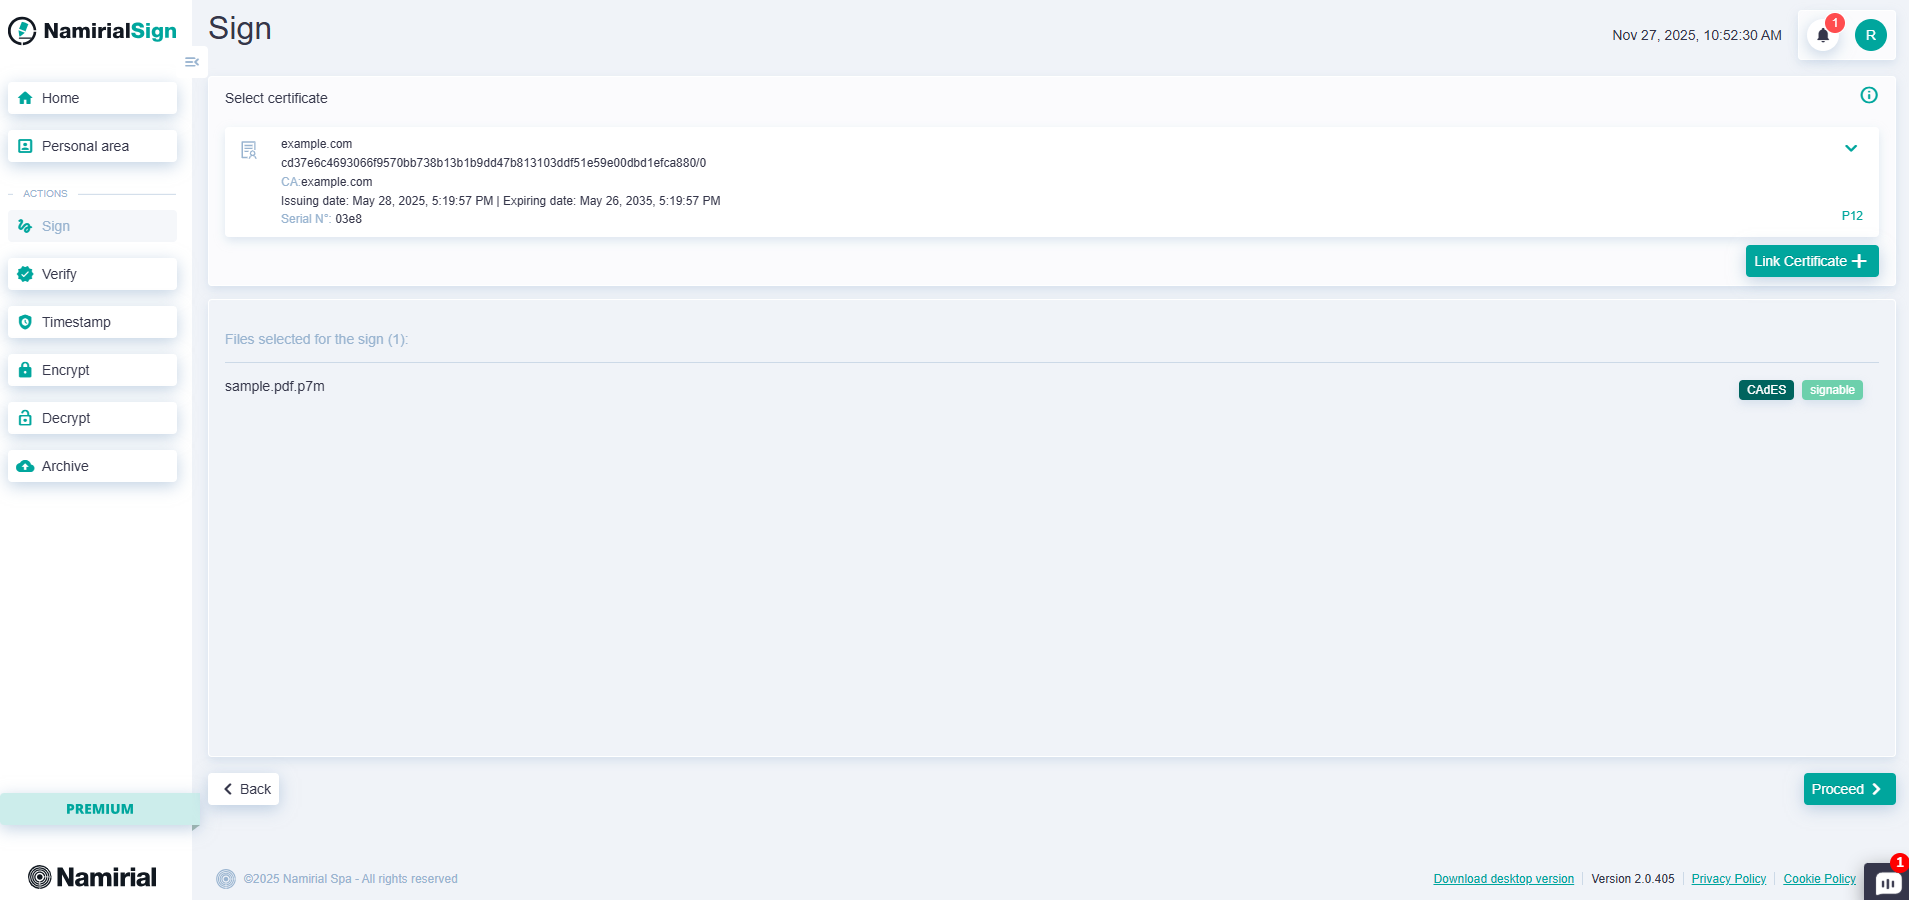
The destination of the signed files can be changed by clicking "Change".
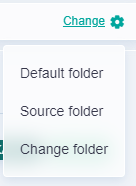
There are three alternatives:
- Default folder, configurable in settings
- Source folder, which places the signed documents in the source file folders.
- Change folder, which allows you to choose where to save them.
Once finished, the "Proceed" button will take you to the PIN entry screen:
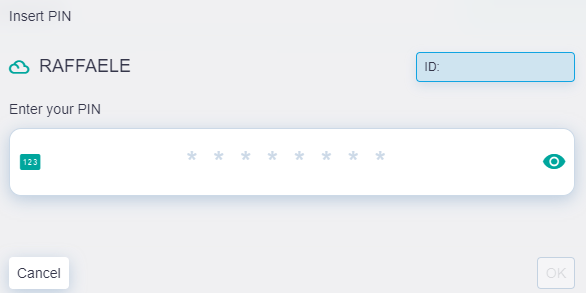
Press "OK" after entering the PIN.
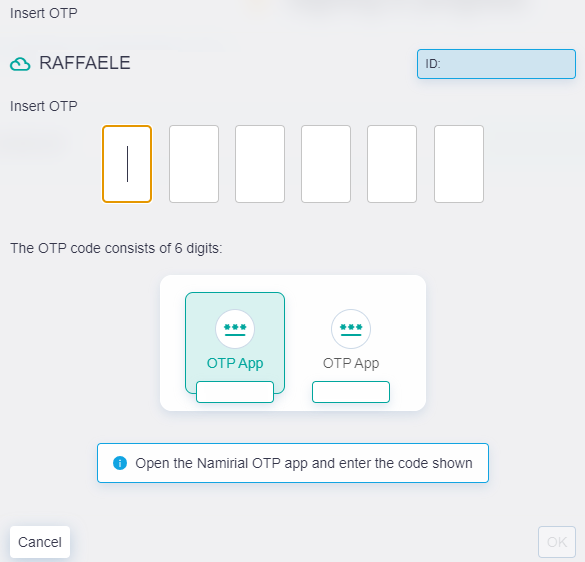
For remote signature, an OTP will also be required, obtainable with one of the possible methods for Namirial remote signature: Namirial OTP app (which must have been configured during remote signature enrollment), OTP via SMS, or hardware OTP. Press "OK" after entering the OTP.
At this point, you need to wait for the signature to be applied to all files; a report will be shown with the list of files being signed and their completion status.
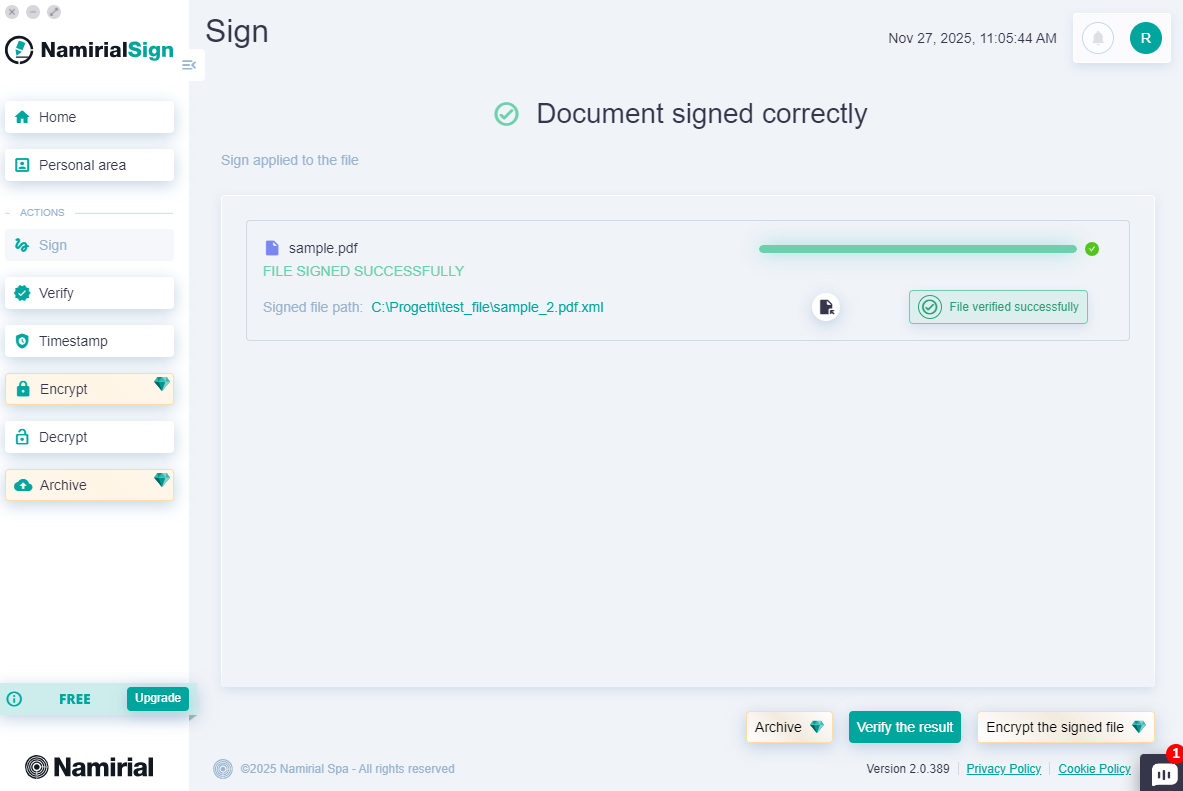
At the end of the signing process, if the document has issues with the validity of the applied signature, a message "Error during verification" will be shown.

If the PIN or OTP are incorrect, you will be asked to re-enter them, with the corresponding error message displayed.

Namirial Sign manages new attempts up to a maximum of:
- 5 attempts for PIN and OTP for remote signature
- 3 attempts for PIN of local devices
- 3 attempts for PIN of P12 files