This is the section where you can view all timestamps.
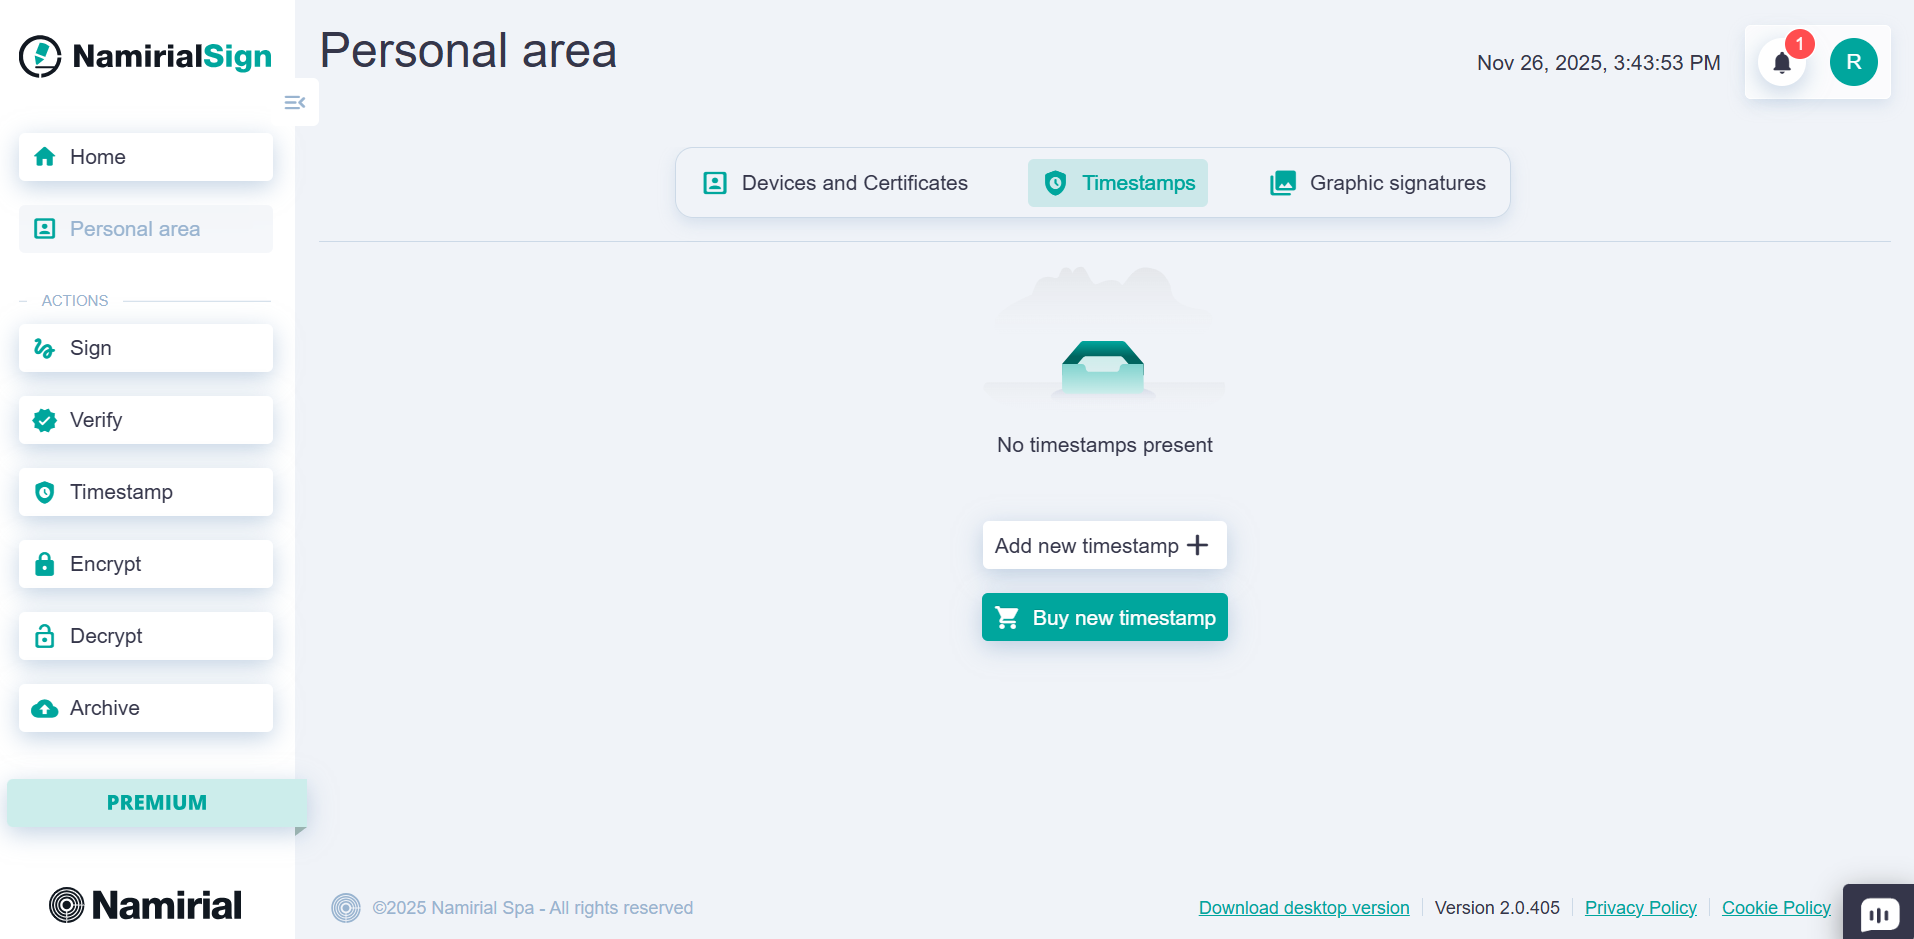
As with identities, a timestamp present in the personal area can also be marked as default, so it will be used by default when choosing the timestamp in the signing or timestamping flow.
There are also options to edit and delete the selected timestamp.
In this section, you can also add other timestamps.
To add a new timestamp, click the "Add new Timestamp" button. A screen will appear where you can enter:
- the provider;
- the Alias of the timestamp, which will appear in the signing and timestamping flows;
- the Username of the account;
- the Password of the account;
To make it appear as the default choice, check "Set as default"; you can also do this later by updating the timestamp or clicking the star icon in the main timestamps area.
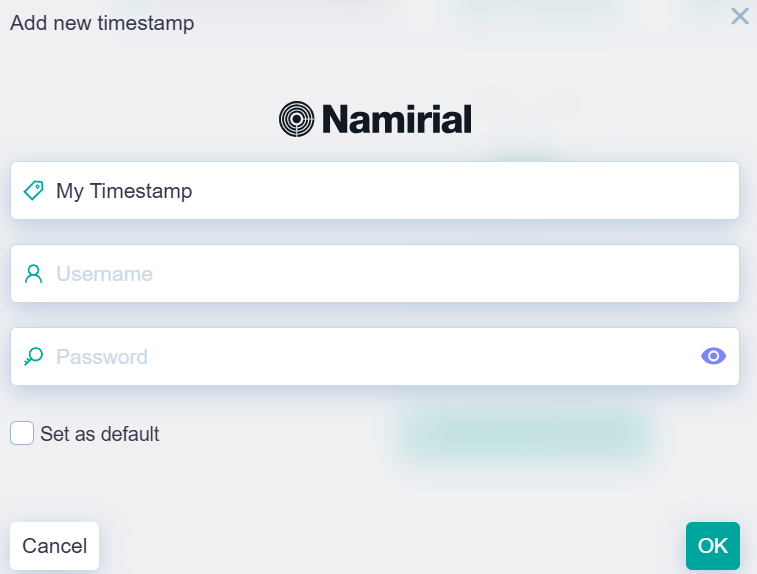
After entering all the data, press the "OK" button to save the configuration. You can now use the timestamp in the signing or timestamping flow.
To understand which provider you should choose, please refer to the email you have received during the purchase.
In case of Namirial timestamps, you might have received an email from no-reply@namirial.com.
In case of Uanataca timestamps, you should have received the credentials from the Operations Team.